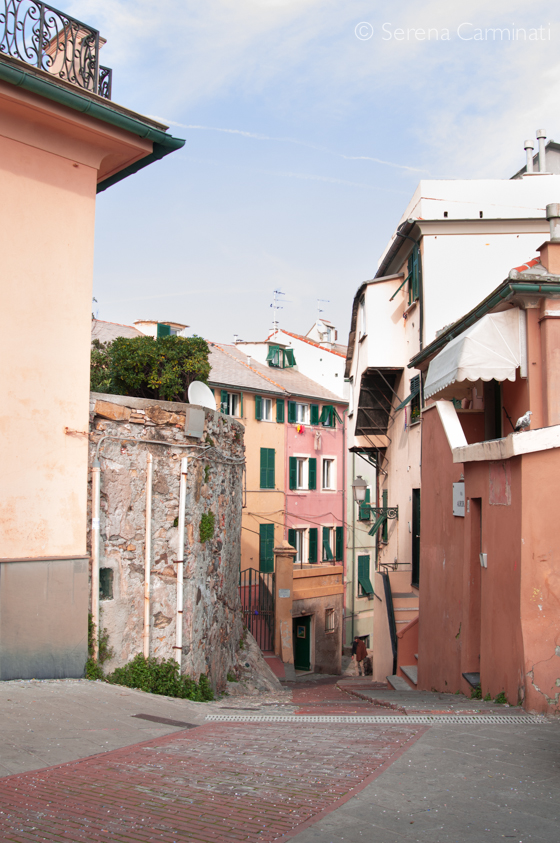
Today we were in Genova Nervi, enjoying an amazing Affogato al Cioccolato.


Today we were in Genova Nervi, enjoying an amazing Affogato al Cioccolato.
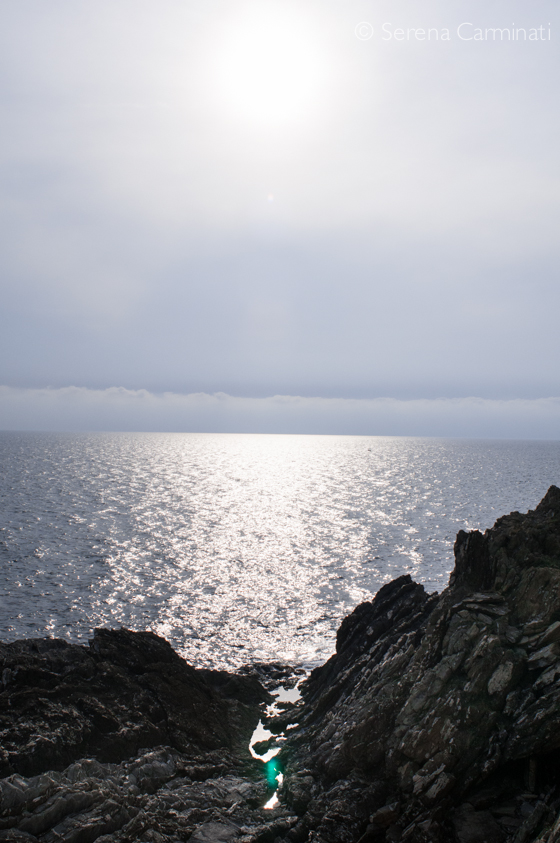
Yesterday, a friend and I decided to take a break. We had lunch at a nice coffee shop and walked for a couple of hours. Sometimes you just have to take a walk to clear your mind, relax and recharge your energy….
Yes, this was the view! 🙂
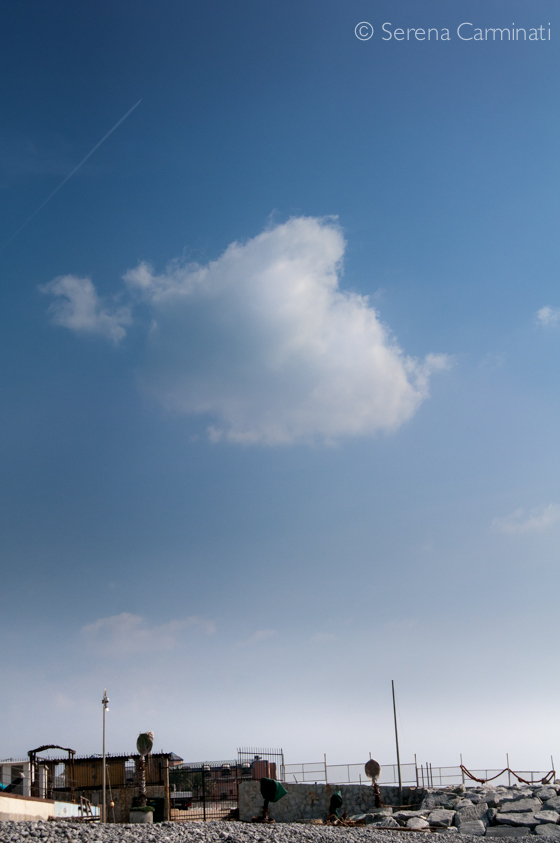


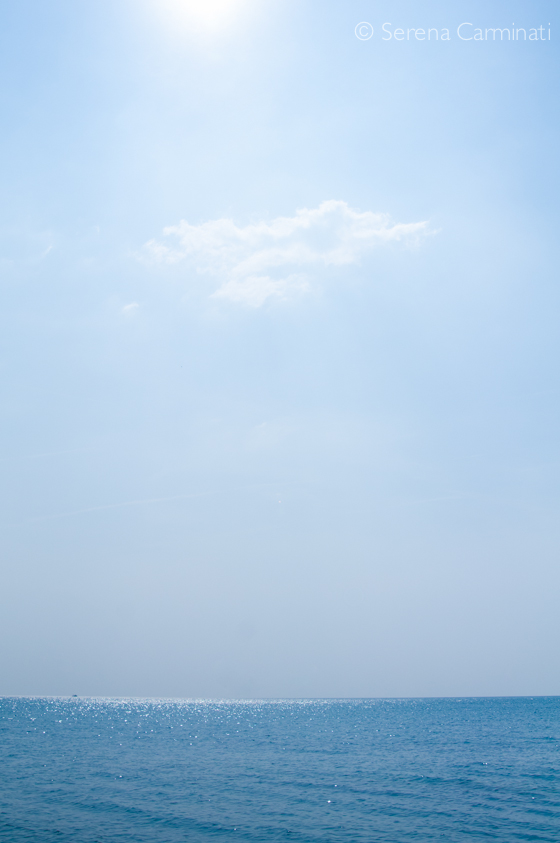


Do you have a favourite place when you feel like to take a break?
Wild plants offer an impressive variety of shapes and colours. After a rainy day, everything seems to be even more intense and overwhelming…


And it’s free!

A few weeks ago, I decided to try out some unusual flavour combinations…By chance, after spending some time experimenting in my kitchen, I discovered that pepper, fennel seeds and lemon work really well with the shortbread dough. This unusual flavour combination will shake up your taste buds so much so that they’ll be asking for more… 🙂
I am not going to say anything more about these delicious and surprising cookies…Just try them and let me know!
Ingredients
For 24-30 cookies
100 g (3.52 oz) whole spelt flour (farro flour)
100 g (3..52 oz) plain flour
1 tablespoon honey
the grated zest of half a lemon (or 2 drops of lemon essential oil)
1/2 teaspoon fennel seeds (these actually come from my parents’ garden)
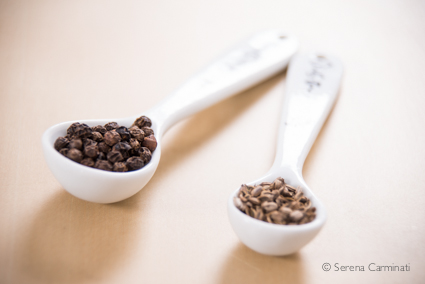
1 teaspoon peppercorns
the juice of half a lemon (small)
100 g (3.52 oz) brown sugar, plus 1 tablespoon to add for decoration
130 g (4.58 oz) softened butter
a pinch of salt
Method.
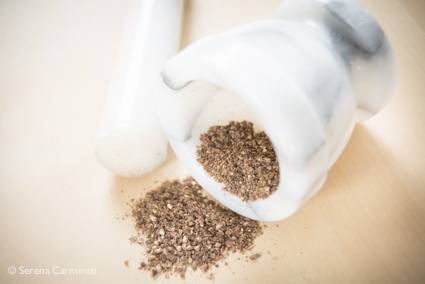
1. Grind the peppercorns and the fennel seeds using a mortar or an electric grinder and set aside.
2. Separately, mix the flour with butter and then add 100 g (3.52 oz) of sugar, 1 tablespoon of honey, the grated zest and the juice of half a lemon with a pinch of salt.


3. Mix until smooth, then put the dough to cool in the refrigerator for 30 minutes.

4. In a small bowl mix together the brown sugar with the ground peppercorns and fennel seeds.

5. Roll out the dough and give it the desired shape. Decorate your cookies with the mixture of brown sugar, black pepper and ground fennel seeds.

6. Bake for 20 minutes at 120°C (248°F) on a greased oven tray.


Biscotti di pasta frolla con pepe e semi di finocchio.
Ingredienti
Per 24-30 biscotti
100 g di farina di farro integrale
100 g di farina 00
1 cucchiaio di miele
la scorza grattugiata di mezzo limone, non trattato (oppure 2 gocce di olio essenziale di limone)
1/2 cucchiaino di semi di finocchio
1 cucchiaino di pepe
il succo di mezzo limone (piccolo)
100 g di zucchero di canna, più un cucchiaio da aggiungere per la decorazione
130 g di burro morbido
un pizzico di sale
Preparazione.
1. Tritate, con un pestello o un macinino elettrico, i semi di finocchio e il pepe. A parte, unite le farine al burro, poi aggiungete all’impasto 100 g di zucchero, il miele, la scorza e il succo di mezzo limone con un pizzico di sale.
2. Amalgamate bene tutti gli ingredienti fino a creare un impasto omogeneo. Lasciate raffreddare in frigorifero per 30 minuti.
3. In una piccola scodella unite un cucchiaio di zucchero di canna con il pepe e i semi di finocchio macinati. Mescolate bene.
4. Stendete l’impasto e date la forma desiderata ai biscotti. Decorate i biscotti con la miscela di zucchero di canna, pepe e semi di finocchio macinati.
5. Infornate a 120° C per 20 minuti.

In my parents’ garden there is a beautiful wild plum tree that every year gives us lots of fruit. These plums, however, are small, mushy and not very sweet. They not very good to eat but great for preparing jams, sauces and desserts. This week I’m going to prepare a really nice and delicate plum ice cream, enriched with a hint of cinnamon, a real treat!

Yellow plum ice cream with a hint of cinnamon.
Ingredients
Serves 4
500 g yellow plums, halved, pitted
1 tablespoon of cornstarch
the juice of 1/2 a lemon
150 g brown sugar
200 ml water
1 greek yogurt (170 g)
1 tablespoon honey
cinnamon to taste (optional)
Method.
1. Peel the plums carefully (the plums I’m using have a very thin skin, therefore I’m not going to peel them for this recipe).

2. Meanwhile, boil the water with sugar and let cool.

3. Puree the fruit in a food processor until smooth, then add the lemon juice, honey, corn starch, and finally the yogurt with cinnamon to the mixture.

4. Add the sugar syrup to the rest of the ingredients and mix well.

5. Place the mixture in the ice cream maker and follow the manufacturer’s instructions.

6. Store in freezer. Top with some fresh mint and serve.

1. Lavate e asciugate le prugne, quindi togliete la buccia e il nocciolo (qui io uso delle prugne con la buccia sottilissima e non la tolgo).
2. A parte, fate bollire l’acqua con lo zucchero e lasciate raffreddare.
3. Frullate la frutta fino ad ottenere una crema, poi aggiungete il limone, il miele, l’amido di mais e lo yogurt con le cannella.
4. Aggiungete anche lo sciroppo e mescolate bene.
5. Mettete il composto nella gelatiera e seguite le istruzioni.
6. Una volta fatto, potete conservare il gelato nel congelatore o servirlo direttamente nelle coppette con due foglie di menta.


Cats are extremely elegant animals, they have incredibly expressive eyes and they are very affectionate…What more could you ask for? They are definitely among my favorite subjects.


Some time ago I helped a friend make a cake design tutorial. Although it’s definitely not a simple one, actually quite complicated, we decided to put it online anyway. Laura made a very sleek silk clutch bag cake design and it took several pictures and steps to be able to partially explain the process. We did our best, we hope you enjoy it. Feel free to comment on this post.
If you wish to see more of Laura Barcellonio’s cake design visit her facebook page : https://www.facebook.com/pages/Cake-Deluxe/265825503502411?fref=ts
Follow us on facebook : https://www.facebook.com/Foodfulife
Silk Clutch Bag Cake
Designed by Laura Barcellonio

The material used:
A chopping board and a wide, pointed knife (small size)
A pizza or pastry cutting wheel (with a straight blade)
A metal working board to use as a cut mat and a cutting knife (a scalpel)
paper, pencil and scissors
Basic kitchen tools, a silicone spatula and a food brush
Few toothpick and straws
A base for cakes (a thick cardboard coated ) and a white ribbon
For the cake:
1 kg white sugar paste for the cake, plus 500 g for the base
ivory and black food colouring, (and edible pearl food dust optional)
vanilla buttercream
A sponge or a madeira cake ( quite thick)
A few raw pieces of spaghetti
Take 1 kg of white sugar paste. Using a toothpick, start mixing some ivory food colouring with a small amount of white sugar paste. Increase the amount of white sugar paste until you get the desired colour. Take a small piece of ivory paste and add the black color (just a little) , to create a uniform grey paste.

Preparation of the pieces to dry:
With the ivory paste shape and cut the handle of the bag. Make 6 grey pearls (1 cm in diameter each) and insert them, three at a time, into two small pieces of spaghetti.
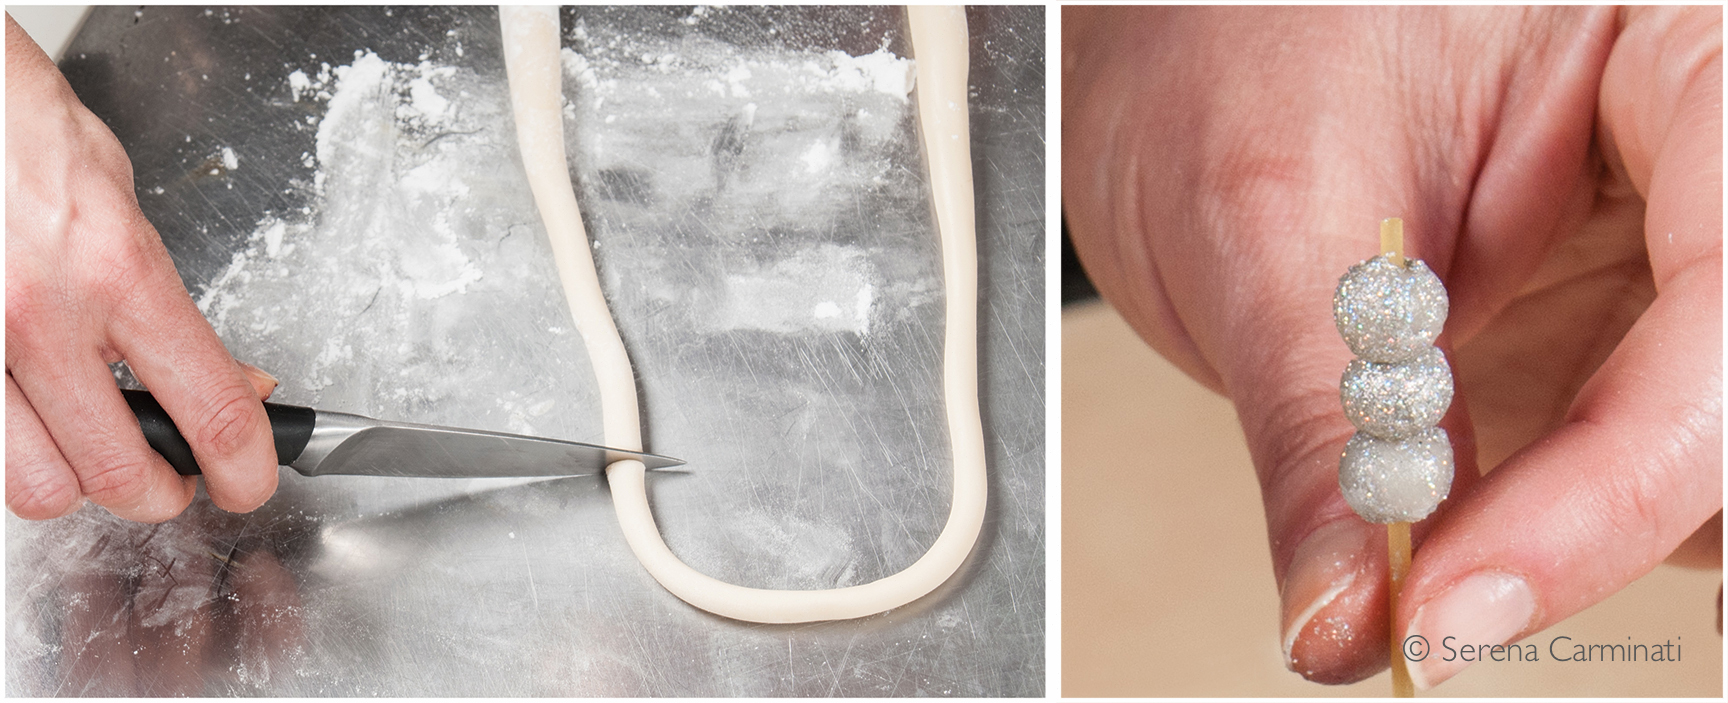
Then shape two grey drops, just a little bit bigger than the pearls. Let all the pieces dry for about an hour.

Cake shaping technique.
Using tracing paper, draw and cut the outlines of your clutch bag. Draw the base of the bag (22 x 12 cm, considering the widest points) , and the side ( 22 x 18 cm, considering the maximum width and height),then cut out your sketches. Take the sponge cake, mark the base and cut out two equal pieces in order to overlap them.

You can use part of the buttercream to make the filling. Following the outline of your drawings, cut the cake until you obtain the desired shape.
Coat crumb with plenty of butter cream and put the cake to cool in the refrigerator for 15 minutes.
Roll out some ivory paste with a rolling pin, until you have a thin sheet, then cut out a rectangular shape and place it gently over the cake.

Cut a trapeze out of the sugar paste sheet and use the straws to calculate 9 folds. Now shape the folds with your fingers and cut out any excess paste. Brush one side of the cake with water and cover it with the sugar paste layer. Repeat this procedure to cover both sides.


Cut another two smaller trapezoids and calculate 6 folds for each piece. Shape the folds, brush the surface, and apply the trapezoids to the small sides.

For the handle:
Roll out the grey sugar paste, shape a small thick sheet and cut out two narrow strips, equal in size. Moisten the part on top of the cake with water, then place and mould the strips.
Take the two pieces of spaghetti with the pearls, pierce the grey stripes and place the handle on top of the cake. Using two pieces of spaghetti place the two drops in the center (see the final picture).

For roses:
Roll out a thin sheet of ivory sugar paste ( 25 cm x 10 cm). Fold the sheet in half and roll it up to shape a rose. Remove any excess paste. Pierce the back of the rose with a small piece of spaghetti and place the rose on the cake.

For the base:
Roll out a large chunk of ivory paste and cover the entire base of the cake. Roll out some thin stripes of white sugar paste, then fold them to create a fabric-like effect on the base of the cake.
Use a white ribbon to cover the edges. Place the cake on top of the base and brush the surface of the clutch bag with a pearl food colour powder, diluted in a little bit of alcohol (this step is optional).


Qualche tempo fa ho aiutato un’ amica a fare un tutorial di cake design. Laura ha fatto una meravigliosa torta a forma di una pochette di seta, un elegantissimo esempio di cake design che richiede un po’ di impegno nella preparazione. Speriamo che vi piaccia.
Se volete vedere di più di cake design di Laura Barcellonio visitare la sua pagina facebook: https://www.facebook.com/pages/Cake-Deluxe/265825503502411?fref=ts
Seguiteci su Facebook:https://www.facebook.com/Foodfulife
Designed by Laura Barcellonio
Il materiale:
Un tagliere grande e un piccolo coltello largo e stretto
Una rotella taglia pasta
Un piano di lavoro su cui tagliare e un cutter
delle cannucce e qualche stecchino
carta, matita e forbici
Attrezzi base da cucina, una spatola in silicone e un pennello per alimenti
una base per torte spessa di cartone rivestito e un nastro bianco
Per la torta:
1 kg di pasta di zucchero bianca per la torta, più altri 500 g per la base
2 coloranti alimentari concentrati tinta avorio e nero (il perlato in polvere é facoltativo)
Crema al burro
Torta di pan di spagna o plumcake allo yogurt
Zucchero a velo q b
alcuni spaghetti (pasta) per le applicazioni
Prendete 1 kg di pasta di zucchero bianca. Infilate la punta di uno stuzzicadenti nel colore alimentare avorio (ivory) e colorate una piccola quantità di pasta di zucchero. Aggiungete della pasta di zucchero bianca fino ad ottenere il colore desiderato. Fate lo stesso procedimento usando la pasta avorio e pochissimo colorante alimentare nero per creare una pasta grigia.

Preparazione dei pezzi da far asciugare:
Con la pasta avorio modellate il manico (1 cm di diametro) e tagliate le estremità. Preparate 6 palline grigie uguali (1 cm circa di diametro) e infilzatele, tre a tre, con due pezzi di spaghetti.

Preparate anche due gocce poco più grosse delle palline.

Fate asciugare per un’oretta.
Tagliamo la torta.
Disegnate e tagliate le sagome della pochette. La sagoma dell’ellisse della base ha come massime dimensioni 22 x 12 cm, mentre quella della proiezione del lato misura 22 x 18 cm. Segnate la base della torta con la sagoma di carta e tagliate con il coltello due pezzi uguali da sovrapporre.

Tagliate e farcite la torta a piacere (con una crema bianca o crema al burro) . Scolpite la torta seguendo la forma delle sagome.
Procedete ricoprendo abbondantemente la superficie con crema al burro (crumb coating). Mettete la torta a raffreddare in frigorifero per 15 minuti.
Stendete con il matterello un pezzo di pasta di zucchero (avorio) , tagliate un rettangolo sottile e stendetelo delicatamente sopra la torta.

Tagliate un rettangolo di sfoglia e calcolate 9 pieghe usando le cannucce. Tagliate e modellate la pasta con le dita. Inumidite la parte su cui applicherete la sfoglia usando un pennello per alimenti. Stendete la pasta delicatamente sulla torta, infilando il materiale in eccesso sotto la base. Ripetete l’operazione fino a coprire entrambi i lati.


Tagliate altri due trapezi piccoli dalla sfoglia e procedete misurando 6 pieghe a trapezio con le cannucce. Modellate, tagliate la pasta e infine applicate ai due lati scoperti della torta.

Per il manico:
Stendete la pasta grigia fino ad ottenere una sfoglia spessa e tagliate due strisce strette, di uguali dimensioni. Inumidite la parte in cima alla torta e appoggiate le strisce sopra la parte inumidita, modellandole con le mani.
Prendete le palline, infilzate le strisce grigie con gli spaghetti e posizionatevi sopra il manico. Aggiungete le due gocce nel centro usando due pezzi di spaghetti (vedi foto finale).
Per le rose:
Stendete con il matterello una sfoglia di pasta di zucchero molto sottile. Formate una striscia (25 cm x 10 cm circa), piegatela in due e arrotolatela delicatamente, per formare una rosa. Strozzate alla base il fiore con le dita e togliete la pasta in eccesso. Infilzate la rosa con uno spaghetto e applicate il fiore sulla torta.
Per la base:
Stendete una grossa quantità di pasta di zucchero (color avorio), e usatela per coprire interamente la base di cartone della torta. Stendete qualche piccolo rettangolo di pasta di zucchero bianca e riponete le sfoglie sulla base, arricciandole per creare l’effetto della stoffa.
Applicate un nastrino intorno alla base e appoggiate la torta al centro della composizione. Per finire, spennellate la vostra pochette con un colorante alimentare perlato in polvere diluito in alcool (passaggio facoltativo).


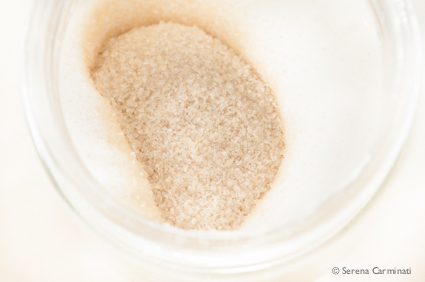
Pavlovas are special desserts indeed! This recipe might seems quite complicated but, it’s actually very simple to make. You can prepare the meringues a few days earlier, or even buy ready-made ones, however, I recommend you use only fresh organic eggs and raw brown sugar to make them. Brown sugar meringues have a rich and fragrant flavour, which blends perfectly with the ingredients of this delicious dessert.

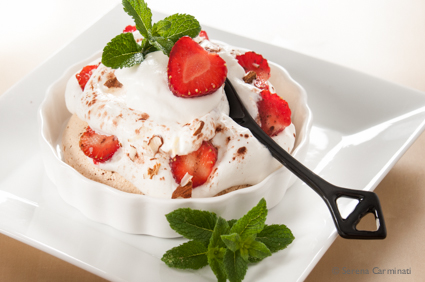
Mini strawberry pavlovas with brown sugar meringues.
ingredients
For 2 mini pavlovas (2 – 4 servings)
For the meringues
40 g (1.41 oz) egg white (1 egg white, large size)
80 g (2.82 oz) brown sugar
1 tablespoon of lemon juice
For the filling
1 small basket of strawberries (250 g, 8,81 oz)
250 ml (8.45 fl. oz) whipping cream
a pinch of cinnamon or cocoa powder, to taste
2 tablespoon ( not completely full) of honey, it must be liquid (1 spoon to add while whipping the cream and 1 spoon to use at the end of the recipe)
50 g (1.76 oz) toasted flaked almonds (optional)
a few mint leaves to garnish (optional)
Method.
1. Whip the egg white with lemon juice, adding sugar gradually towards the end of the whipping process.
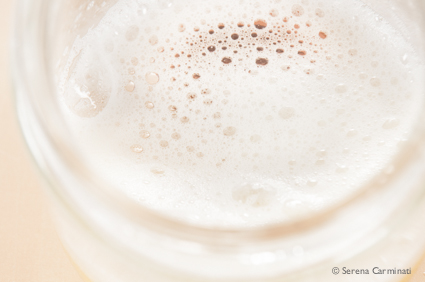
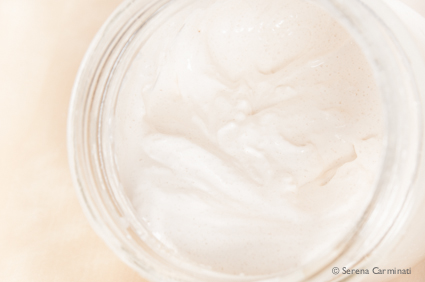
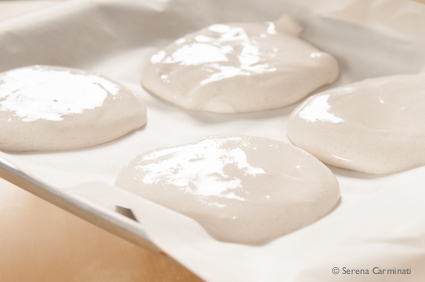
2. Spread the raw meringue on an oven tray, previously lined with baking paper. Shape 2 flat and wide meringues (about 10 cm) with a spoon (in the photographs I’m making 4). Bake at 120 ° C (240 ° F) for 2 hours and 20 minutes. Turn off the oven and let the meringues cool.

4. Separately, whip the cream, adding 1 tablespoon (not full) of honey, when it’s almost done.

5. Wash, dry and cut the strawberries into slices. Pour the cream on the meringues and garnish with the fruit on top. Add a pinch of cinnamon (or cocoa powder) and finish garnishing with the almonds, some honey (1/2 spoon per meringues) and a few fresh mint leaves. Refrigerate until serving.
Mini pavlova di fragole con meringhe di zucchero di canna.
Ingredienti
per le meringhe
Per 2-4 persone
40 g di albumi
80 g di zucchero grezzo di canna
un cucchiaio di succo di limone
Per la farcitura
1 cestello piccolo di fragole (250 g)
250 ml di panna fresca da montare
un pizzico di cannella o di cacao ( a piacere)
2 cucchiai di miele, liquido (1 per addolcire la panna e 1 da aggiungere alla fine della preparazione)
50 g di mandorle a fette (facoltativo)
qualche foglia di menta per guarnire (facoltativo)
Preparazione.
1. Montate a neve l’albume con il succo di limone, aggiungendo lo zucchero gradualmente ( meglio unire la maggior parte dello zucchero quando l’albume sarà praticamente montato).
2. Usando un cucchiaio, stendete la meringa cruda su una teglia (ricoperta da un foglio di carta da forno) e formate 2 meringhe piatte e larghe (circa 10 cm). Infornate a 120° C per 2 ore e 20 minuti. Spegnete il forno e fate raffreddare.
3. A parte, montate a neve la panna, aggiungendo 1 cucchiaio di miele.
4. Lavate, asciugate e tagliate le fragole a spicchi.
5. Versate la panna sulle meringhe e guarnite con la frutta. Aggiungete un pizzico di cannella (o cacao) e poi guarnite con le mandorle, 1 cucchiaio di miele (1/2 per meringa) e qualche foglia di menta.
