Tag Archives: Sesame seeds

Mixed Seed Wholemeal Bread Recipe (High-Fibre Food)

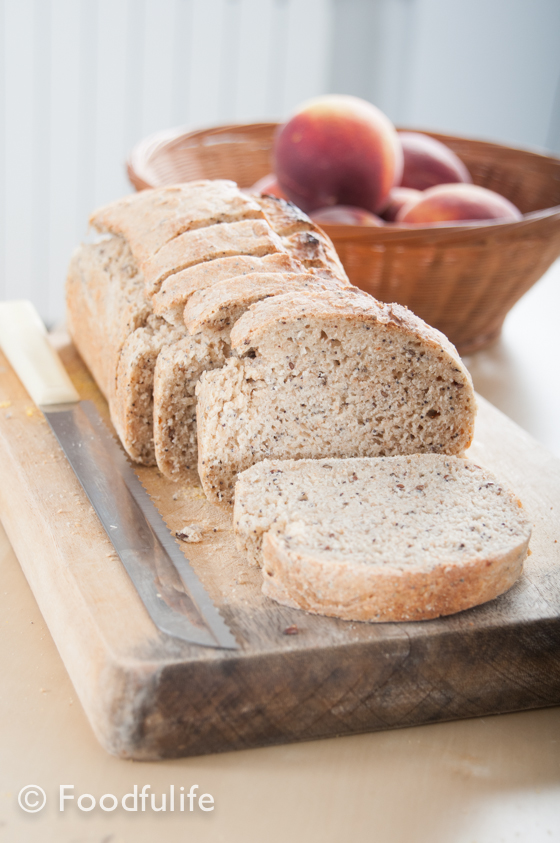
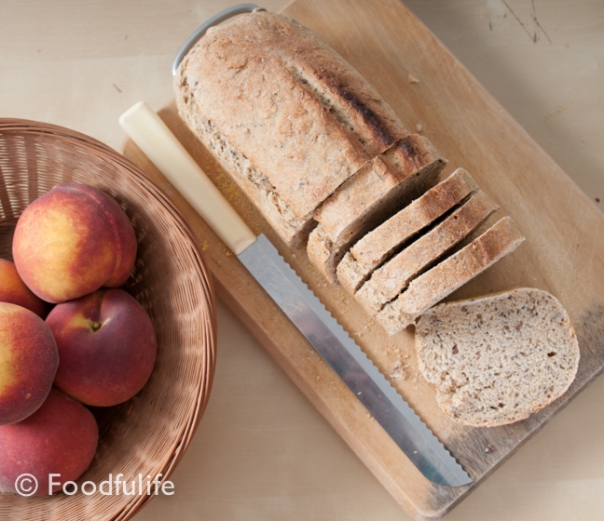
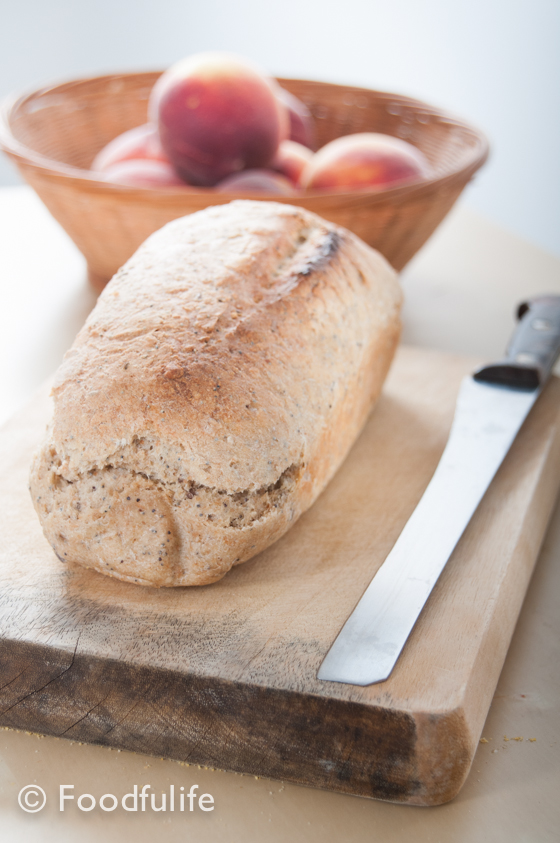
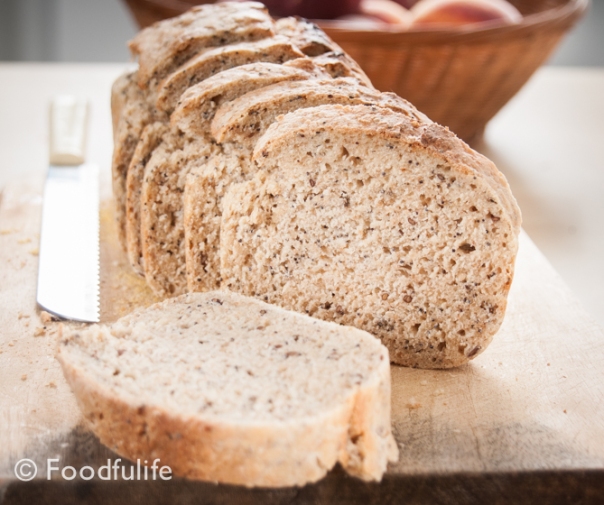
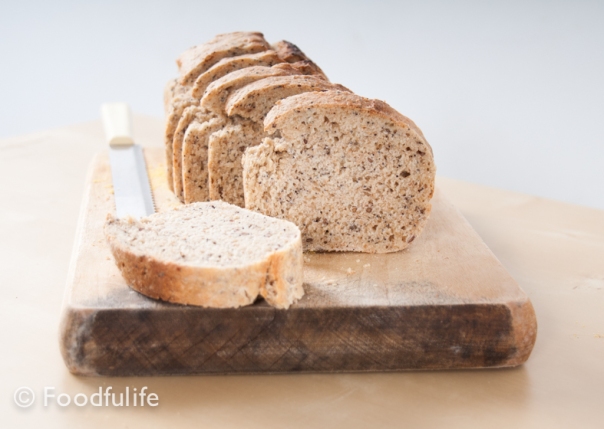
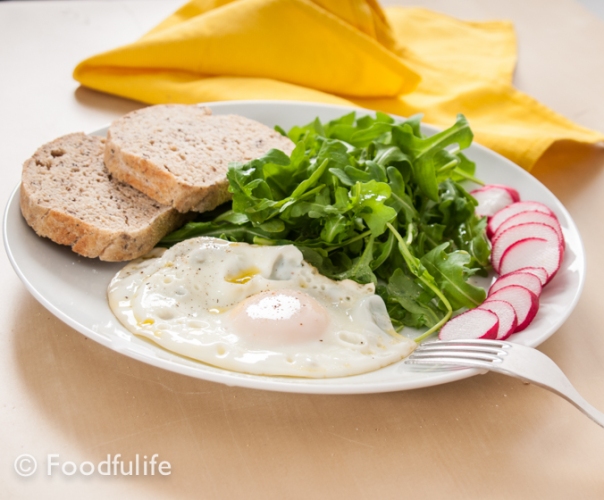
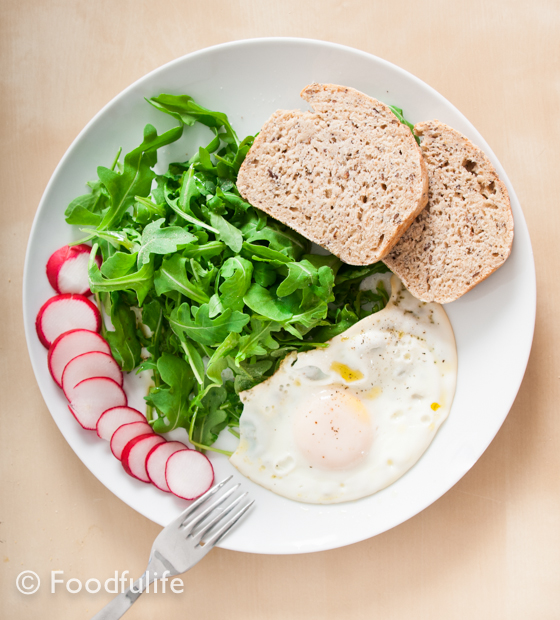
A delicious loaf of bread with a lot of tasty seeds inside! This is a great breakfast or sandwich bread,very tasty, crunchy on the outside and soft in the middle. I actually served it with a nice salad and I really enjoyed it!

DSC_0259

You can prepare the dough in the evening and keep it in the fridge with a few tablespoons of water, it will rise slowly through the night. The day after you have to take it out of the fridge a couple of hours before you bake it.

DSC_0277

Mixed Seed Wholemeal Bread.

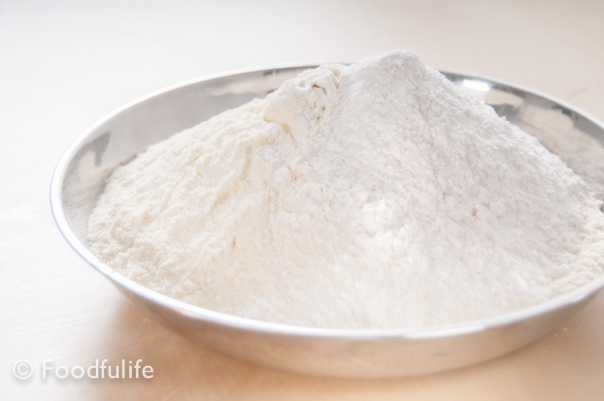
150 g (5.2 oz) plain flour / unbleached all-purpose flour

100 g (3.5 oz) of durum wheat semolina flour

100 g (3.5 oz) whole spelt flour

100 g (3.5 oz) of wholemeal flour

135 g (4.76 oz) of sourdough (semi-liquid, made with plain or Manitoba flour) or 15 g of yeast

1/2 tsp of barley malt

1 tablespoon of extra virgin olive oil and some more to grease the tin

8 g (0.28 oz) of ground sea salt

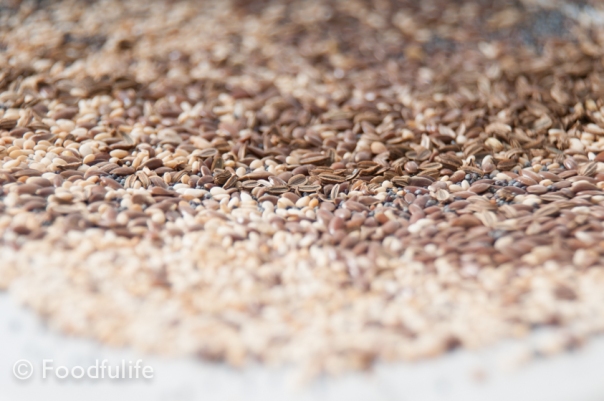
1 tablespoon of flax seeds

1 tablespoon sesame seeds

1 tablespoon poppy seeds

1/2 tablespoon of fennel seeds

DSC_0280

Method.

1. Toast the seeds in a very hot oven for about 5 minutes (at 200°C/392 °F).

DSC_0244

2. Sift and mix the flours. Add the seeds, the sourdough (or yeast), 1 tablespoon of extra virgin olive oil, the barley malt and the salt. Mix everything well until you have a smooth dough.

DSC_0238

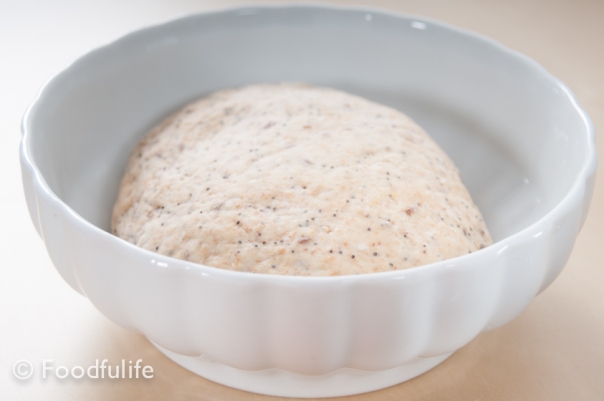
3. Let the dough rise until it doubles in volume (1-2 hours for the yeast, 3-6 hours for the sourdough).

DSC_0254

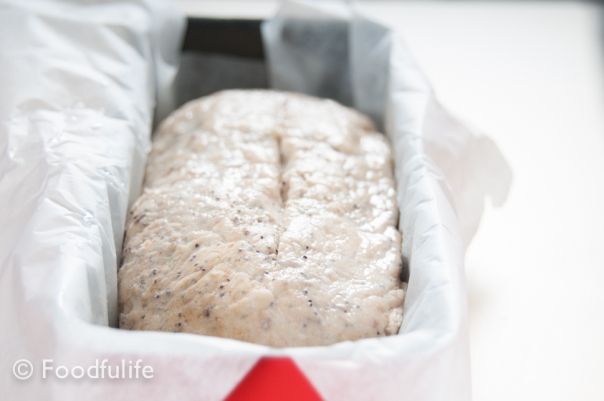
4. Bake in a loaf tin ( 3.9 inches x 10.2 inches), lightly greased with extra virgin olive oil, at 200 ° C (392°F) for 25-30 minutes. Let cool and then serve with a nice salad.

DSC_0258

DSC_0267

DSC_0283

DSC_0293

DSC_0299

Pane integrale ai semi.

150 g di farina 00

100 g di semola di grano duro

100 g di farina integrale di farro

100 g di farina integrale

135 g di lievito madre (semi liquido, con base di farina 00 o manitoba)
oppure 15 g di lievito di birra

1/2 cucchiaio di malto d’orzo

1 cucchiaio d’olio extra vergine d’oliva per l’impasto e un po’ di più per ungere la teglia

1 cucchiaio di semi di lino

1 cucchiaio di semi di sesamo

1 cucchiaio di semi di papavero

1/2 cucchiaio di semi di finocchio

Preparazione.

1. Fate tostare i semi per qualche minuto nel forno a 200°C, oppure in una padella.

2. Setacciate e unite le farine. Aggiungete i semi, il lievito, 1 cucchiaio d’olio extra vergine d’oliva, il malto d’orzo e il sale.

3. Fate lievitare fino a far raddoppiare l’impasto di volume (1-2 ore per il lievito di birra, 3-6 ore per il lievito madre).

4. Infornate a 200 °C per 25-30 minuti (ho usato una teglia profonda 10 cm x 26 cm). Fate raffreddare e servite con una buona insalata.

DSC_0302

Tasty Pizza With Cannellini Bean Hummus And Mussels

DSC_9006

We love our pizzas! We love them with all sort of ingredients on top, as long as the ingredients are of the best quality! We have so many different types of pizza in Italy that is easy to get confused! I don’t even know all of them, I just know there are several recipes.  Some of the most amazing pizzas are made with seafood and fresh herbs.

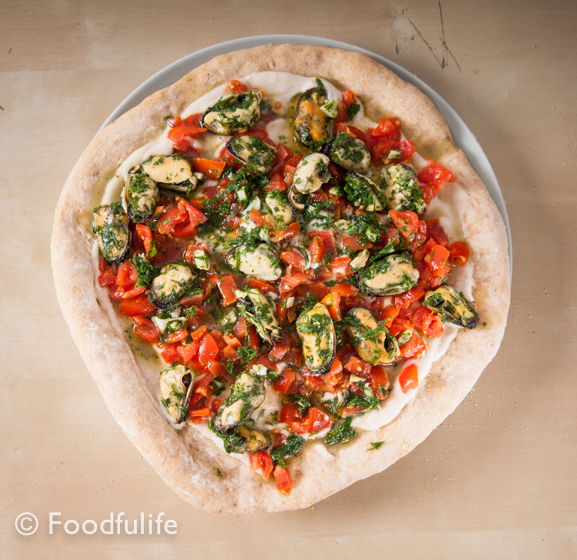
This is one of my recipes, a lovely pizza made with a creamy cannellini bean hummus and topped with mussels, full of flavours and really crunchy! You can call it pizza or you can call it focaccia, either way, it is delicious!!!
Cannellini beans are perfect with mussels, so I have adapted my hummus recipe with slightly different ingredients to suit this recipe best. It is a great summer dish, fresh crunchy and very tasty!

DSC_9011

Pizza with cannellini bean hummus and mussels.

Ingredients

For 2 large pizzas (4 people)

500 g pizza dough (you can follow this recipe)

DSC_8917

For the cannellini bean hummus

1 can of cannellini beans

1/2 clove of garlic

1 small shallot

the juice of 1/2 a lemon

1 teaspoon sesame seeds

a few crystals of sea salt

2 tablespoons of extra virgin olive

2 tablespoons of water (if needed)

DSC_8955

For the mussels

2 cloves of garlic, finally chopped

250g (8.8 oz) of mussels ( I used already cleaned and frozen mussels without shell, but you can use fresh ones if you like)

1 tablespoon of chopped parsley

1 tablespoon of chopped tarragon

salt and pepper to taste

3 tablespoons of extra virgin olive oil

To garnish

20 cherry tomatoes, washed, chopped and drained

DSC_8959

Method.

For the Hummus.

1. Using a small mortar and a pestle, crush 1 teaspoon of sesame seeds with a few sea salt crystals.

DSC_8922

2. Rinse the beans well, then boil them for a few minutes in salted water and drain.

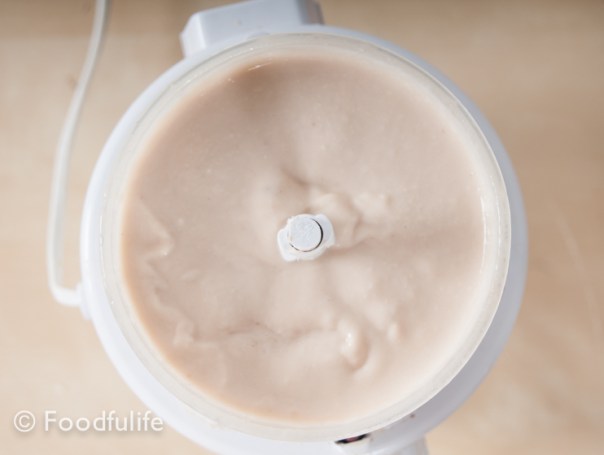
3. In a food processor, finely chop the beans with the crushed sesame seeds, the salt crystals, 1/2 a clove of garlic and a small shallot. After a few minutes, add the juice of half a lemon, 2 tablespoons of water (only if needed) and 2 tablespoons of extra virgin olive oil. Process everything until you have a smooth and creamy mixture.

DSC_8930

DSC_8937

For the pizza.

1. Make 500g of pizza dough (follow this recipe).

2. Roll out the dough on two baking trays, greased with plenty of extra virgin olive oil and shape 2 large pizzas.

DSC_8949

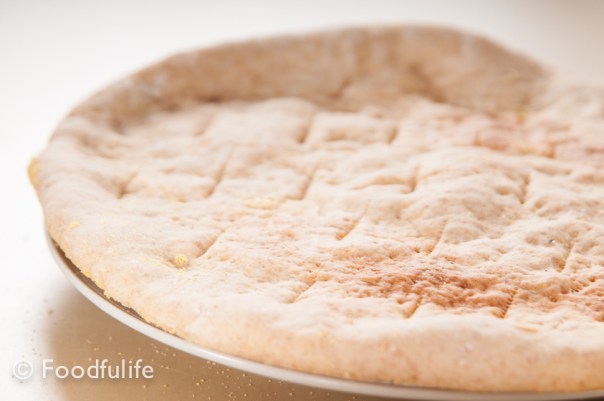
3. Pierce the dough using a knife and bake in a preheated oven at 200 ° C (392° F) for 15-20 minutes.

DSC_8979

For the mussels.

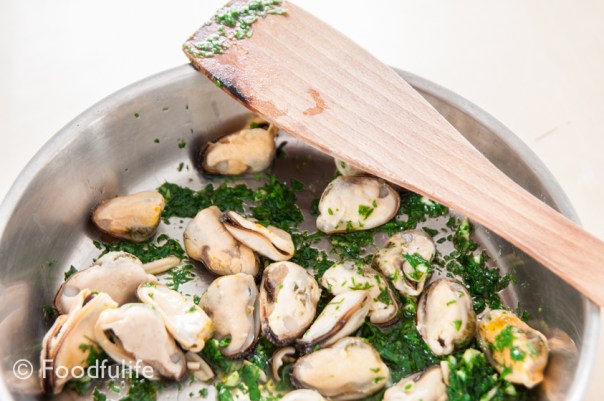
1. In a frying pan, fry two cloves of garlic with the parsley and the tarragon (all finely chopped), over very low heat with 3 tablespoons of extra virgin olive oil.

DSC_8964

2. After a few minutes add the mussels and cook over a medium heat for about 10 minutes, then turn off the heat.

DSC_8970

To garnish.

Garnish the pizzas with the cannellini hummus, then top with the tomatoes and the mussels.

DSC_8991

DSC_8995

DSC_9013

DSC_9004

Pizza saporita con hummus di cannellini e muscoli.

Ingredienti

Per 2 pizze grosse (4 persone)

500 g di pasta per la pizza

Per l’hummus di cannellini

1 scatola di cannellini

1/2 spicchio d’aglio

1 scalogno piccolo

il succo di 1/2 limone

1 cucchiaio di semi di sesamo

qualche cristallo di sale marino

acqua q. b.

2 cucchiai di olio extra vergine d’oliva

Per i muscoli

2 spicchi d’aglio

250g di muscoli ( ho usato muscoli già puliti, senza guscio e surgelati, ma potete anche usare quelli freschi)

1 cucchiaio di prezzemolo, lavato e tritato

1 cucchiaio di dragoncello, lavato e tritato

sale e pepe q.b.

3 cucchiai d’olio extra vergine d’oliva

Per la guarnizione.

20 pomodorini ciliegina, lavati, tagliati a pezzetti e scolati

Per la preparazione dell”hummus.

1. Con un pestello e un piccolo mortaio, schiacciate i semi di sesamo con qualche cristallo di sale.

2. Sciacquate bene i fagioli e scottateli per qualche minuto (in acqua leggermente salata). Quando saranno pronti, scolate i fagioli.

3. In un tritatutto, tritate finemente i fagioli con i semi di sesamo, il sale, mezzo spicchio d’aglio e lo scalogno. Dopo qualche minuto, aggiungete il succo di mezzo limone, un po’ d’acqua (solo se necessario) e 2 cucchiai d’olio extra vergine d’oliva. Tritate tutto fino ad ottenere una crema uniforme.

Preparazione della base.

1. Preparate 500g di pasta per la pizza seguendo questa ricetta.

2. Stendete la pasta su due teglie unte abbondantemente con olio extra vergine d’oliva e formate due pizze grandi.

3. Fate dei piccoli tagli sulla superficie della pasta e infornate a 200°C per 15-20 minuti.

Per la preparazione dei muscoli.

1. In una padella, fate soffriggere due spicchi d’aglio con il prezzemolo e il dragoncello (a fuoco molto basso).

2. Dopo qualche minuto aggiungete i muscoli e fate cuocere per circa una decina di minuti, poi spegnete il fuoco.

Preparate la pizza.

Con un cucchiaio spalmate l’hummus di cannellini uniformemente sulla base della pizza, poi aggiungete i pomodorini e i muscoli.

DSC_9024

How to make perfect bread.

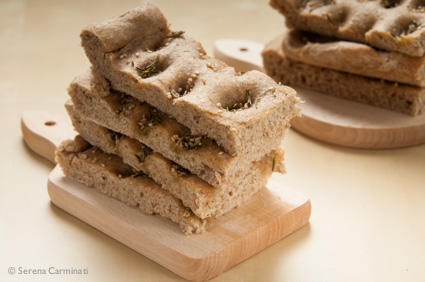
Focaccia bread with rosemary and whole sesame seeds.
DSC_2885

Ingredients

300 g (10.5 oz) wholemeal flour ( organic is better)

200 g (7 oz) plain flour, (organic is better)

167 g (5.8 oz) sourdough (or 16 g yeast)

10 g salt (for the dough) and some more to add over the focaccia bread

A few sprigs of fresh rosemary

10 g sesame seeds (1 tablespoon)

half a teaspoon honey olive oil and water as needed

Bread dough.

To prepare a good homemade bread you need to choose the ingredients carefully.

There are many different flours to choose from, and not all necessarily reflect what labels say. Most wholemeal flour you find in shops, for example, is often nothing more than plain flour with added bran, therefore it’s always best to get informed and buy good quality products, possibly organic, to have good cooking results.

Making a good bread dough is essential, it is very versatile and it can be used in many recipes to add fragrance and flavour to your dishes. I often use good quality wholemeal flour in my dough, as it is rich in fiber, vitamins and minerals and contains fewer calories than plain flour dough.

Starter dough.
DSC_2846

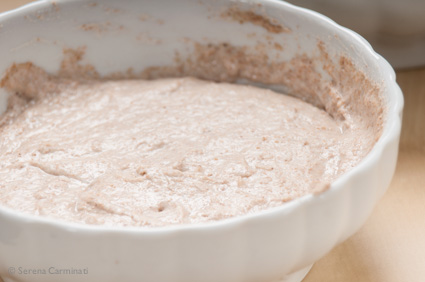
The best way to strengthen and optimize the leavening and fermentation activity in bread dough is to create a starter dough ( or bread starter). We begin by adding the sourdough (167 g) to some flour (1/4 of the dose indicated in the recipe, 125 g, 4.4 oz), just a little bit of honey, and enough water to create a moist and soft dough. Cover and set the dough in a warm place to rise, until it has doubled in volume.This process will make your bread dough rise perfectly, after adding all the ingredients.

It’s also possible to make a starter dough using yeast, but time and dosage differ slightly. Use 16 g of yeast ( following the doses indicated in the recipe above) plus 2 tablespoons flour, very little honey, then cover and let it rise for 1 hour.

How to make sourdough from the start : https://foodfulife.wordpress.com/2013/01/02/how-to-make-na…east-sourdough/

Making the dough.

Mix the two flours in a large bowl. Pour the flour on a working surface (or use a large bowl) and make a well in the centre. Add salt and water to the flour mixture. Mix everything and add the starter dough.

DSC_2851

Form a soft dough, adding water or extra flour if needed. The dough should be smooth and elastic. Shape into a round ball and slash the surface in a cross pattern.

DSC_2852

Place the dough to rise in a warm place (rising time may vary depending on the ingredients you use). If you use natural yeast, your dough might take 3-6 hours to rise, or maybe less if you made a starter dough , my advice, however, is to always wait for the dough to double in volume.

DSC_2859

Once risen, you can shape your dough into the desired form, and use it in many recipes.

Focaccia bread with rosemary and whole sesame seeds.

DSC_2868

With the help of a rolling pin, roll out the bread dough until you have a thick layer and place it on a lightly greased rectangular baking tray (mine is a 28cm x 24 cm ).Stretch the dough layer to cover completely the baking tray. With your fingers, press lightly on the surface of the dough to create little wells, taking care not to break it.

DSC_2865

Place in a warm place and let rise for 20 minutes. Brush your bread with olive oil and water,then sprinkle evenly with fresh rosemary leaves, sesame seeds and salt.

DSC_2866

Bake at 180° C (356 °F) for 20 to 30 minutes. Cut and serve.

DSC_2876

Focaccia integrale con rosmarino e semi di sesamo.

Ingredienti

300 g di farina integrale

200 g di farina 00 biologica

167 g di lievito madre (oppure 16 g di lievito di birra)

10 g di sale (per l’impasto) e un po’ in più da aggiungere sopra la focaccia

Qualche rametto di rosmarino fresco

10 g di semi di sesamo (un cucchiaio)

mezzo cucchiaino di miele

olio d’oliva e acqua q b

Pasta da pane: impasto base.

Per preparare un ottimo pane fatto in casa è necessario scegliere gli ingredienti con cura. Esistono svariate farine e non tutte rispecchiano necessariamente ciò che indicano le etichette. La farina integrale che trovate in commercio, per esempio, spesso non è altro che farina bianca con dell’aggiunta di crusca, quindi e’ sempre meglio informarsi e comprare prodotti possibilmente biologici e di buona qualità, per avere buoni risultati in cucina.

Un buon impasto per il pane è importante perché può essere utilizzato in molte ricette, arricchendo i piatti con gusto e fragranza.  L’impasto integrale, in particolare, è ricco di fibra, un po’ meno calorico e contiene più vitamine e minerali di quello fatto con la farina bianca.

Qualche link utile sulla farina integrale:

http://www.corriere.it/salute/nutrizione/10_febbraio_28/pane-integrale-vantaggi_ed0992cc-2422-11df-826d-00144f02aabe.shtml

http://blog.greenme.it/naturomania/alimentazione-naturale-attenti-alla-farina-integrale/

Il lievitino, o panetto di lievito.

Il modo migliore per rinforzare e ottimizzare la lievitazione e la fermentazione nell’impasto, è quello di creare un lievitino, o panetto di lievito. Si procede aggiungendo al lievito madre (in questo caso 167 g) una parte della farina (1/4 della dose indicata nella ricetta) ,pochissimo miele (o zucchero, che useremo per nutrire il lievito), e acqua necessaria per creare un panetto umido e morbido. Coprite e mettete il panetto in un posto caldo finché non sarà raddoppiato di volume. Questa operazione farà lievitare perfettamente il vostro impasto, una volta aggiunti tutti gli ingredienti.

Naturalmente il lievitino si fa anche con il lievito di birra, ma le dosi e i tempi variano leggermente. A 16 g di lievito di birra, sbriciolato e sciolto in un po’ d’acqua (seguendo sempre le dosi indicate sopra), si aggiungono 2 cucchiai di farina, poco miele e si lascia riposare per 1 oretta circa al caldo. A questo link troverete tutto il procedimento per fare il lievito madre: https://foodfulife.wordpress.com/2013/01/02/how-to-make-na…east-sourdough/

Impasto e procedura.

Unite le farine e disponetele a fontana su un piano da lavoro (o in una ciotola grande), aggiungete il sale e l’acqua tiepida necessaria ad amalgamare il tutto, senza bagnarlo troppo. A questo punto aggiungete il panetto di lievito e lavorate energicamente fino a creare un impasto liscio e omogeneo. Formate una palla e incidete una croce sulla superficie. L’impasto ora è pronto per essere coperto e messo in un luogo caldo a lievitare. I tempi di lievitazione variano a seconda degli ingredienti usati. La lievitazione con il lievito madre può variare dalle 3 alle 6 ore, magari meno se usate il lievitino, il mio consiglio, comunque, è di aspettare sempre che l’impasto sia raddoppiato di volume prima di utilizzarlo. Una volta lievitato, potete dare al vostro impasto le forme desiderate o sbizzarrirvi con le vostre ricette.

Preparazione della focaccia integrale con rosmarino e semi di sesamo.

Aiutandovi con il matterello, stendete la pasta da pane fino ad ottenere una sfoglia spessa più o meno un dito e  ponetela in una teglia rettangolare leggermente unta (io ne uso una delle dimensioni di 28cm x 24 cm). Stendetela ulteriormente, in modo da ricoprire perfettamente la superficie della teglia. Con le dita premete leggermente sull’impasto per creare delle rientranze, facendo attenzione però a non romperlo. Lasciate lievitare per 20 minuti. A questo punto, spargete uniformemente le foglie di rosmarino fresco con i semi di sesamo e il sale sulla focaccia. Spennellate con un po’ di olio d’oliva e un po’ d’acqua, e infornate a 180° per 20- 30 minuti. Tagliate e servite.

A Steamed Alternative to Vegetable Stock.

Home-made (steamed) vegetable stock.

DSC_2467

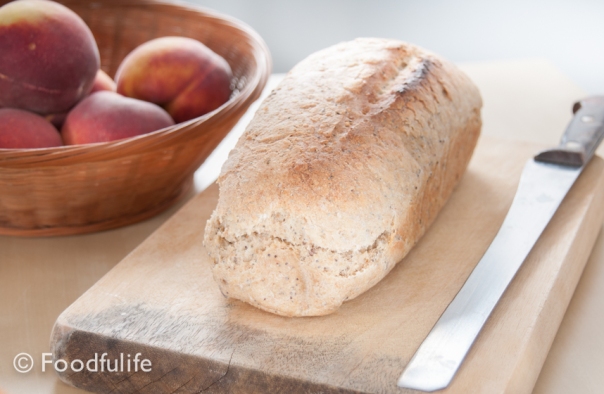
This stock-like sauce is prepared by gently steaming vegetables, using ingredients naturally rich in flavour like wine, sesame seeds and fresh herbs. It ‘s a great alternative to commercial vegetable stocks (or vegetable broth) and a little bit healthier than homemade ones. This fragrant, rich-in-nutrients sauce will blend in nicely with most of your dishes, improving every recipe ( I use it with roast meat, stews, sauces or soups). As a homemade product, made ​​only with fresh vegetables and no artificial preservatives, this stock should be kept well sealed in the fridge and used up within a few days, while in the freezer will keep well for several months. This recipe is high in salt, a natural preservative, therefore should be used in moderation.

DSC_2301

Ingredients

4 tablespoons olive oil (1 of which is to be added at the end)

1 kg  ( 2 lb) fresh vegetables:

1 medium tomato

3-4 stalks of celery

2-3 carrots

a medium potato

1 red bell pepper (optional)

2 medium onions

2 cloves of garlic

A bunch of herbs to taste (I used parsley, marjoram and some oregano and rosemary)

150 ml (5 fl oz) white wine or Marsala wine

150 ml (5 fl oz) water

1 tablespoon salt

2 tablespoons sesame seeds (finely ground)

Fry the onions and garlic with 3 tablespoons of olive oil. When the onions are golden brown, pour the wine into a pan and let it cook at a low heat to make a sauce.

DSC_2320DSC_2327

In the meantime, wash and cut the vegetables into chunks, and put them in a steamer basket.

DSC_2355

Put the basket on top of the pan, cover with a lid and cook with the steam of the wine sauce for 20-30 minutes. Half way through the cooking time (after 10-15 minutes), pour the water into the wine sauce, then cover and continue cooking.

DSC_2372

When the vegetables are almost ready, add the herbs ( finely chopped) to the sauce.

DSC_2369

DSC_2386

Put the vegetables back on top of the pan and continue to simmer until they are tender.

DSC_2380

Turn off the heat, pour the vegetable into the wine sauce and, using an immersion blender, blend everything together.

DSC_2402

Finely grind the sesame seeds with a food processor. Add the seeds, a tablespoon of salt and one of olive oil to the vegetables stock. Mix well.

Pour the stock into small jars (previously sterilized with boiling water or alcohol at 90 °), seal and store in the fridge and/or in the freezer.

DSC_2463

Dado di verdure (cotte a vapore) fatto in casa

Questo condimento si prepara facendo cuocere delicatamente le verdure al vapore, utilizzando ingredienti naturalmente aromatizzanti come il vino,i semi di sesamo e le erbe fresche profumate. E’ un’ottima alternativa al brodo fatto in casa o al classico dado del supermercato. Il risultato sarà una pasta profumatissima e ricca di sostanze nutritive che arricchirà ogni piatto, senza appesantirlo. Questa salsa, o dado, si può utilizzare per fare un brodo vegetale leggero, oppure ci si possono condire e insaporire svariate pietanze, come arrosti o sughi di vario genere. Essendo un prodotto preparato con ingredienti freschi e senza conservanti artificiali,  se tenuto in frigorifero è consigliabile utilizzarlo entro pochi giorni, mentre nel freezer si manterrà benissimo per diversi mesi. Il sale contenuto nella ricetta ne aiuta la conservazione, ma ovviamente bisogna moderarne le quantità nella preparazione delle vostre ricette.

Ingredienti

4 cucchiai d’olio di oliva (di cui 1 va aggiunto a cottura avanzata)

1 kg di verdure fresche:

1 pomodoro medio piccolo

qualche gambo di sedano

2-3 carote

una patata medio piccola

1 peperone rosso (facoltativo)

Un mazzetto di erbe aromatiche a piacere ( ho messo prezzemolo, maggiorata e in minore quantità  origano e rosmarino)

2 cipolle

2 spicchi d’aglio

150 ml di vino bianco o di Marsala

150 ml d’acqua

1 cucchiaio abbondante di sale

2 cucchiai di semi di sesamo (macinati finemente)

Fate rosolare il soffritto di cipolle e aglio con 3 cucchiai di olio d’oliva. Quando le cipolle saranno ben dorate allungate con un po’ di vino. Nel frattempo, lavate le verdure, tagliatele e mettetele nel cestello per la cottura a vapore. Riponete il cestello sopra la pentola del soffritto, chiudete con il coperchio e lasciate cuocere per 20-30 minuti con il vapore del vino.

A metà cottura (dopo 10-15 minuti) allungate il vino con 150 ml d’acqua, coprite la pentola e continuate a cuocere. Quasi a termine cottura, aggiungete le erbe aromatiche (tritate e pulite) al vino e lasciate insaporire a fuoco molto basso.  Spegnete la fiamma quando tutte le verdure saranno morbide, poi unitele alla salsa di vino e frullate il tutto con un frullatore ad immersione, fino a creare una crema densa. Nel caso il risultato fosse troppo liquido, fatelo un po’ ritirare a fuoco lento.

A questo punto, tritate i semi di sesamo finemente e aggiungeteli con un cucchiaio di sale (fino) alla nostro dado di verdura. Inumidite con un cucchiaio di olio crudo e mescolate bene tutto.Mettete il dado in diversi vasetti di vetro (precedentemente sterilizzati con acqua bollente o alcool a 90°) e riponeteli nel frigorifero e nel freezer.