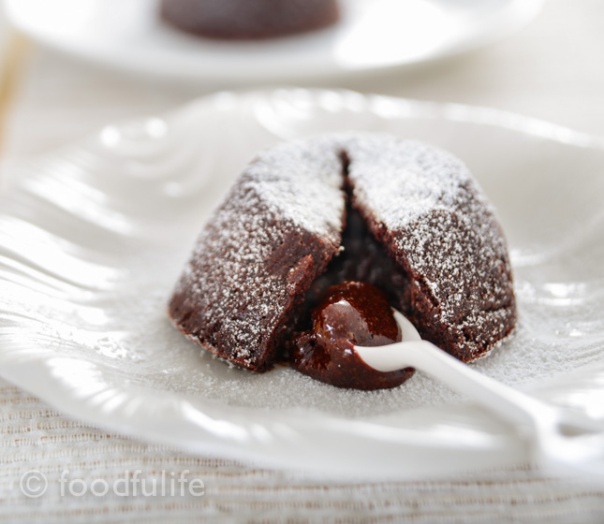
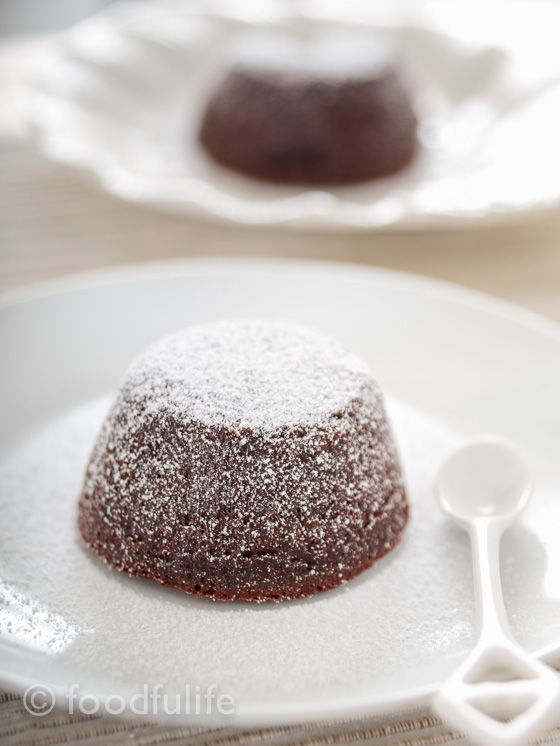
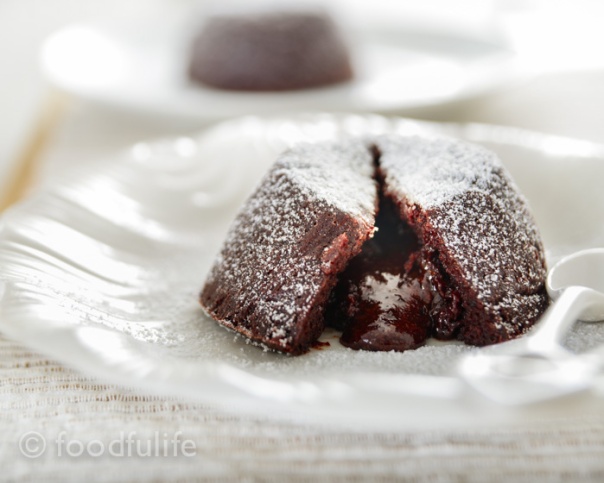
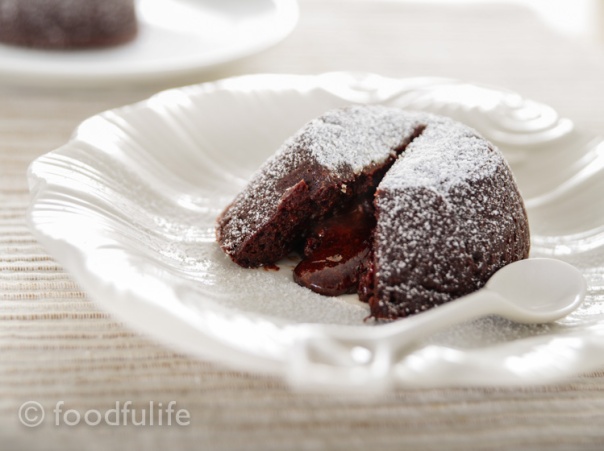
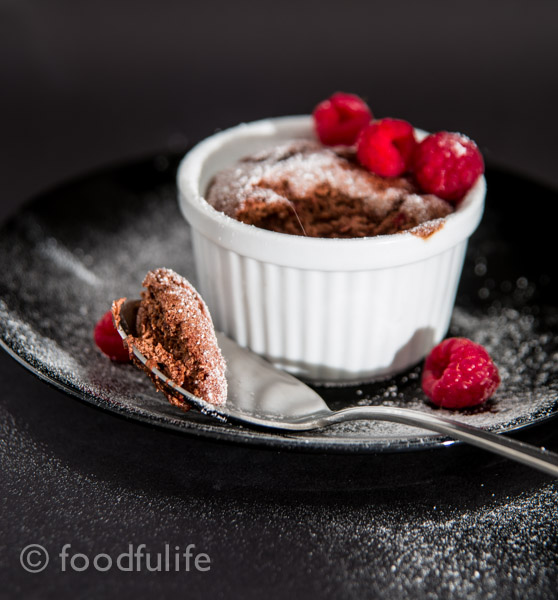
A melt-in-the-mouth dark chocolate and raspberry soufflé is definitely a wonderful way to indulge during a romantic Valentine’s evening.
I know, making a soufflé for the first time can be a little bit scary, however it is quite a simple dessert to make, despite its reputation….Just remember to handle the soufflé with great care and serve it as soon as it comes out of the oven, otherwise this dessert will lose its lift.
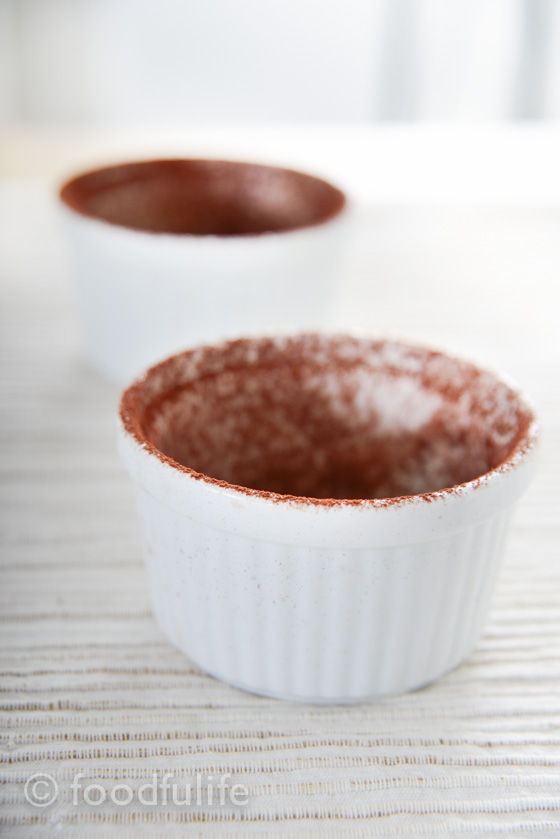
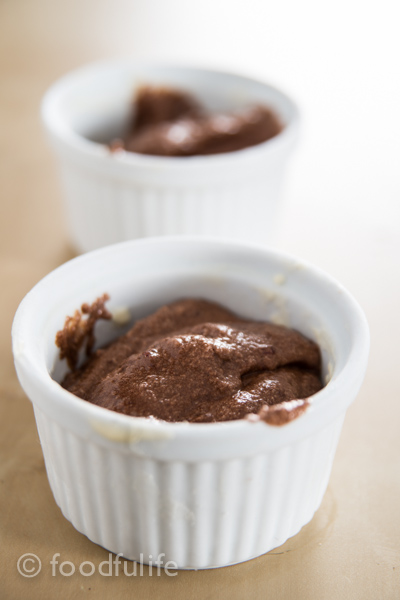
Cooking tip. Grease and chill the soufflé dishes for at least 5 minutes before cooking, then grease again with a little butter before pouring in the soufflé mixture. This operation will prevent the soufflé sticking to the dishes during the cooking process.

Dark chocolate soufflé with raspberries.
Medium difficulty
Ingredients
Serves 2-3
2 small egg yolks (at room temperature)
3 small egg whites (at room temperature)
60 g dark chocolate (70% cocoa solids)
60 g fresh raspberries, washed and dried (at room temperature)
15 g butter, plus a little bit more for greasing the moulds
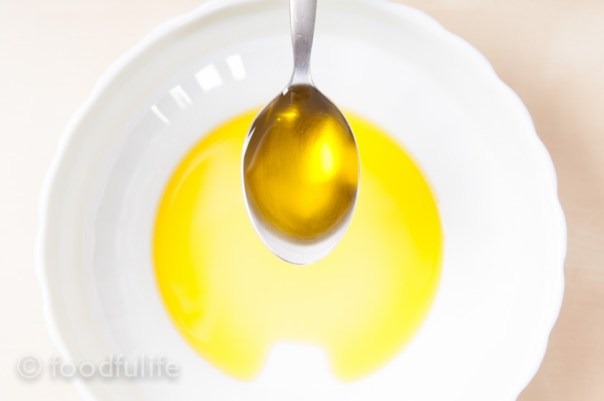
45 g honey, or agave syrup
1 teaspoon lemon juice
Method.
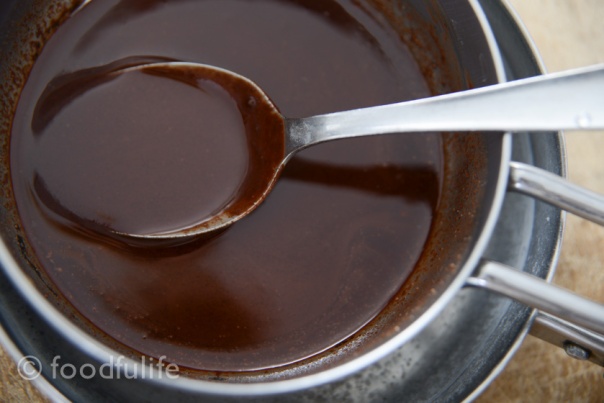
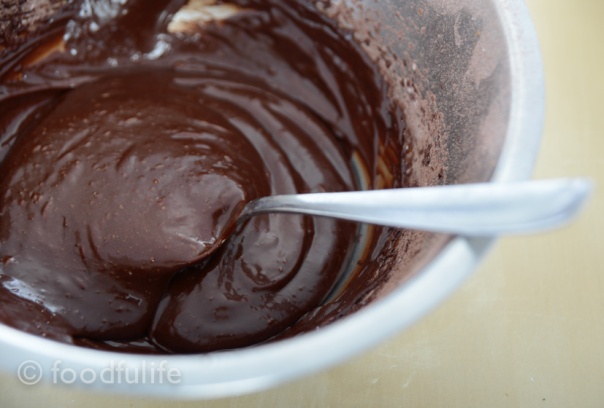
1. Melt the chocolate in a bain-marie.

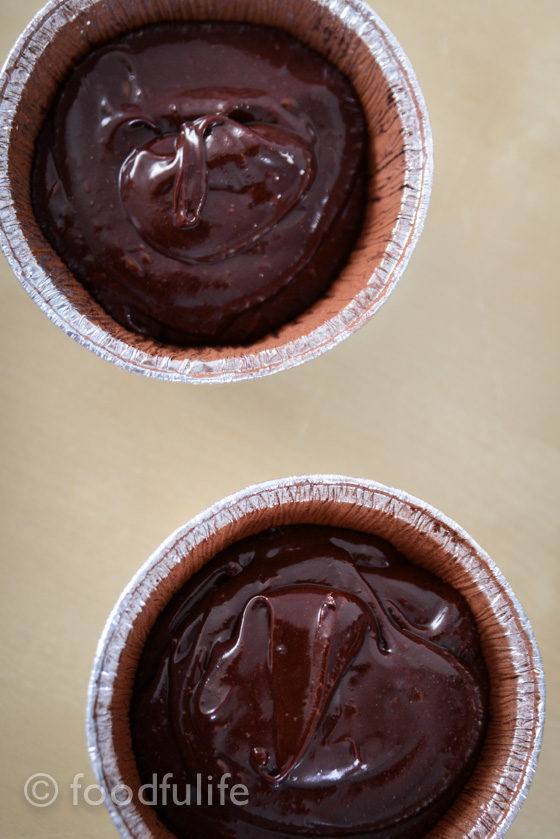
2. Grease 2-3 soufflé moulds (8 cm in diameter, or larger if you use only 2).
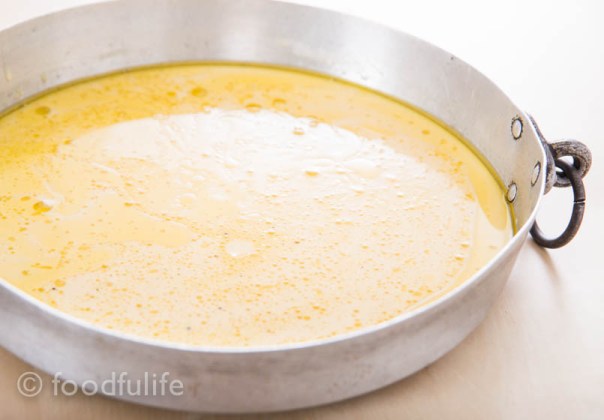
3. Stirring gently, add the butter and the honey to the melted chocolate. Let cool a little.
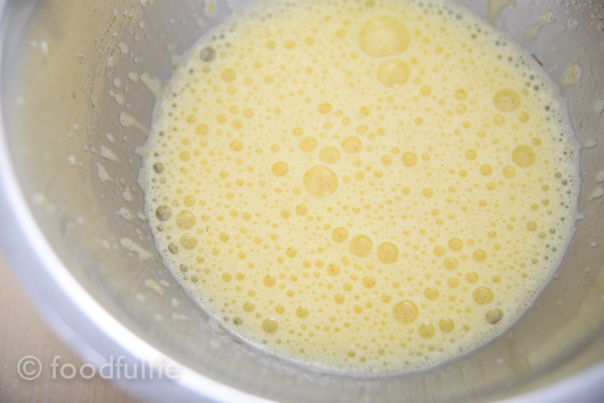
4. Add the egg yolks and then the raspberries, crushing them lightly using a fork. Mix well.

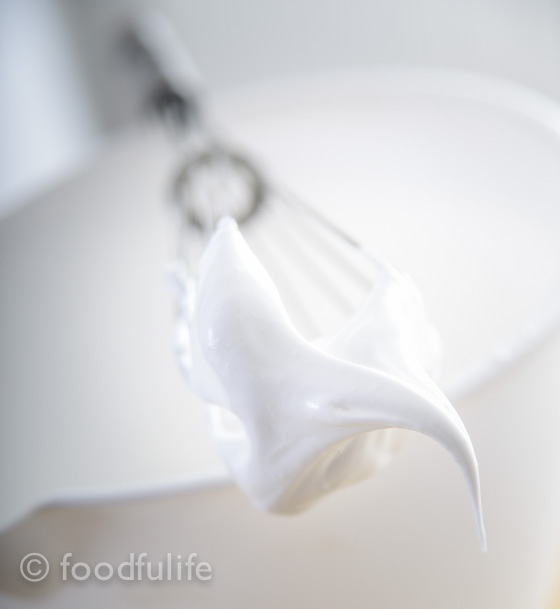
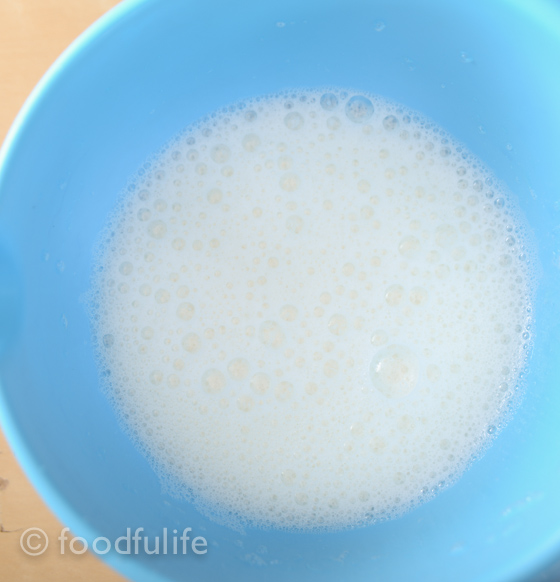
5. Separately, whip the egg whites with a teaspoon of lemon juice (the lemon juice will help the whipping process).
6. Combine the whipped egg whites with the other ingredients. Mix all the ingredients gently using a spatula.
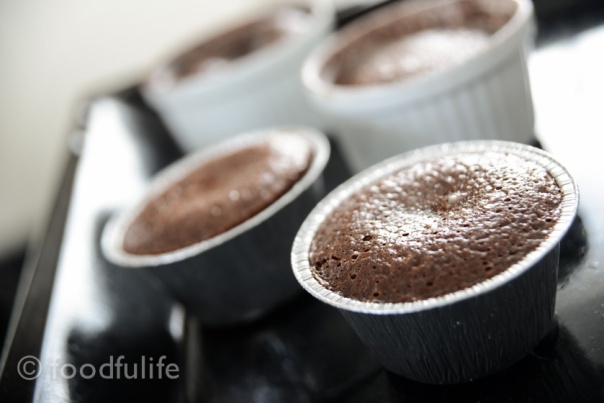
7. Fill the moulds up to 2/3 and bake at 160 ° C for 20 minutes. Garnish with fresh raspberries and serve immediately.

Soufflé di cioccolato ai lamponi.
Media difficoltà
Ingredienti
Per 2-3 persone
2 tuorli piccoli (a temperatura ambente)
3 albumi piccoli (a temperatura ambiente)
60 g di cioccolato findente al 70 %
60 g di lamponi freschi (a temperatura ambiente)
15 g di burro e un po’ di più per imburrare gli stampi
45 g di miele (oppure sciroppo d’agave)
1 cucchiaino di succo di limone (per montare meglio gli albumi)
Preparazione.
1. Fate sciogliere il cioccolato a bagnomaria.
2. Imburrate 2-3 stampini da soufflé di circa 8 cm di diametro (o anche un po’ più grandi, se ne usate solo due).
3. Unite il miele e il burro al cioccolato sciolto, mescolando dolcemente. Lasciate intiepidire.
4. Aggiungete gradualmente anche i tuorli e i lamponi. Schiacciate leggermente i lamponi con una forchetta e mescolate bene.
5. A parte, montate a neve gli albumi con un cucchiaino di succo di limone.
6. Unite gli albumi montati agli altri ingredienti, mescolando delicatamente dal basso verso l’alto.
7. Riempite gli stampini fino a 2/3 e infornate a 160° C per 20 minuti. Guarnite con dei lamponi freschi e servite subito.