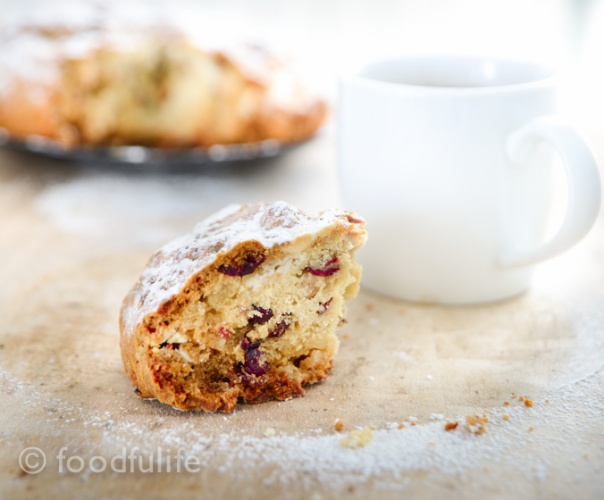
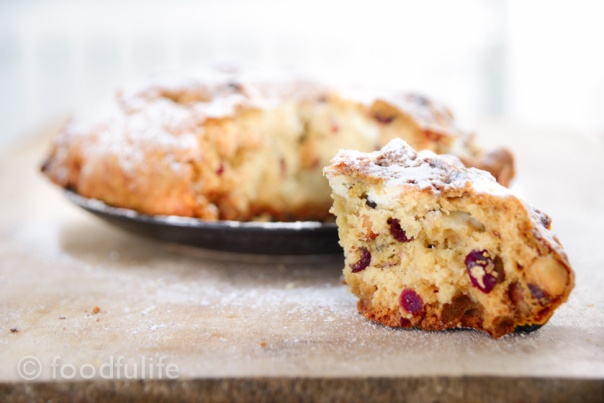
February is American Heart Month, a month-long campaign to raise awareness about the risk of heart diseases and unhealthy lifestyles; it is also a way to remind us that we have to take care of our hearts and ourselves on a regular basis. One way to do that is to improve our diets by adding more fresh vegetables, whole grains and limiting unhealthy fats, in order to lower the cholesterol levels in our blood.
We all know that these healthy foods contain a lot of nutrients such as vitamins and minerals, which are extremely important for our system, more than this, they also contain fibre, another important element that helps maintain low cholesterol levels in our blood. As a consequence, we have to cut down on unhealthy fats like the ones contained in full-fat dairy products, heavily processed food and fatty meat… It doesn’t mean we have to completely avoid these foods, we just have to be a little bit more aware about what we eat.
Healthy eating doesn’t necessarily mean tasteless food…
I am a firm believer that healthy dishes can be tastier than unhealthy processed food. In fact, the less you cook, manipulate and process the ingredients during the preparation method of a recipe, the tastier the food will be, as you preserve the nutrients contained in it…As a consequence, your body will benefit with a boost of energy and good health!
Of course, today’s recipes are dedicated to this topic..

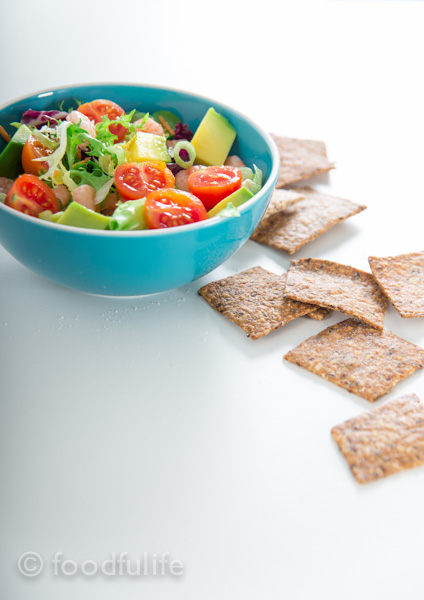
Fresh vegetable and shrimp salad.
Difficulty: easy
Ingredients
Serves 4
300 g of shrimps
1 large avocado
16 cherry tomatoes
150 g mixed salad (with fresh carrots and mixed salad leaves)
2 spring onions (optional)
the juice of a lime
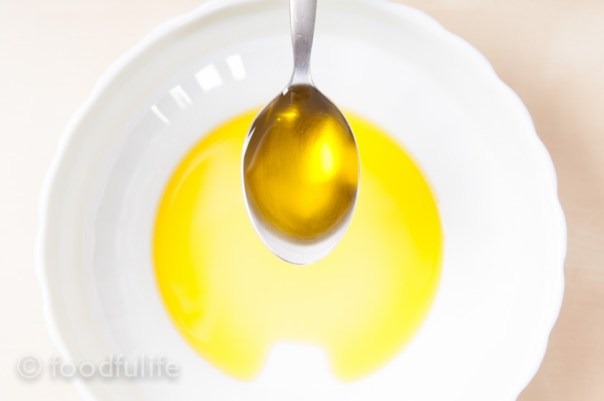
a little extra virgin olive oil
salt and pepper to taste
Method.
1. Fill a small pan with water, then cover with a lid and bring to a boil. Turn off the heat and poach the shrimps for 5-7 minutes (until they turn pink), then drain and set a side.

2. Wash, clean and dry all the vegetables. Cut the tomatoes into halves, the avocado into small chunks and mix with the salad. Slice the spring onion and add it to the vegetables.
3. Divide the salad into 4 equal portions, then add the shrimps and season with a little extra virgin olive oil, the juice of a lime, salt and pepper.
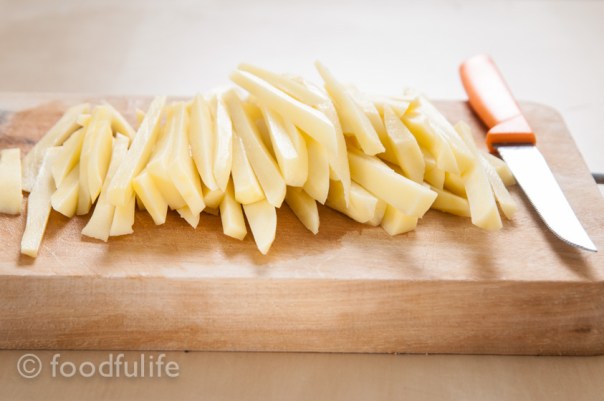
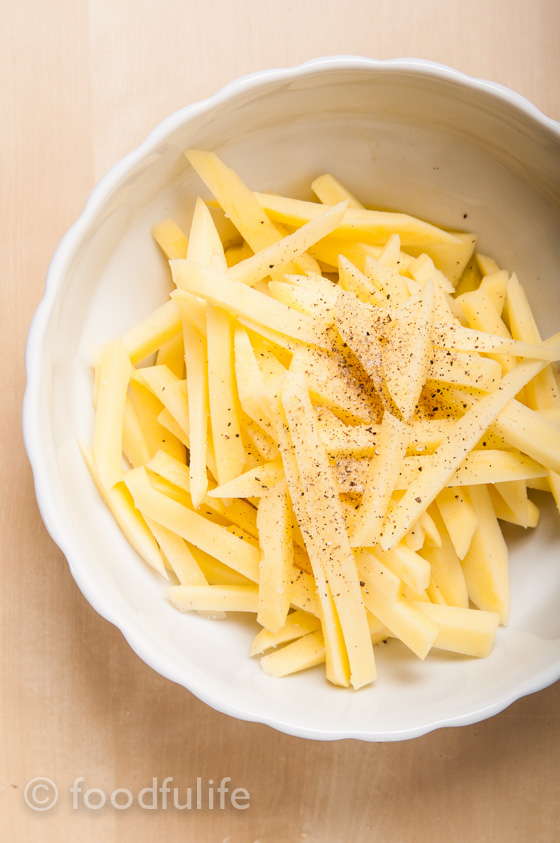
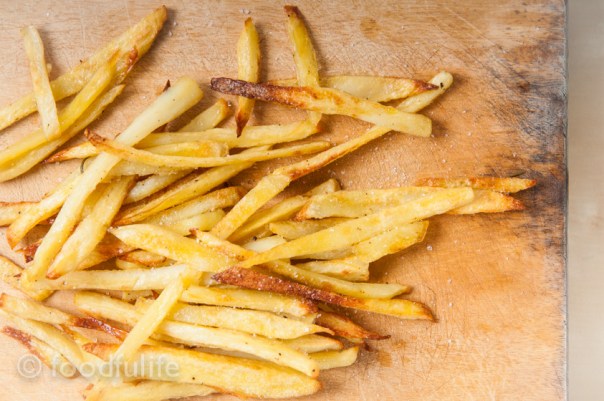
4. Serve the salad in bowls with a few whole spelt and oat crackers on the side.


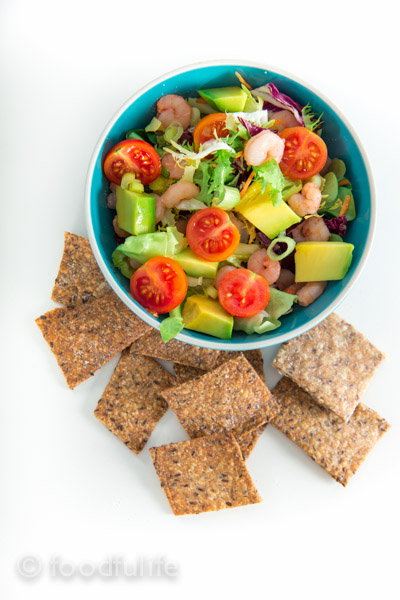
See also the whole spelt and oat crackers recipe
Insalata con gamberetti e avocado.
Difficoltà: facile
Ingredienti
Per 4 persone
300 g di gamberetti
1 avocado grande
16 pomodorini ciliegia
150 g di insalata mista (con carote fresche)
2 cipollotti (facoltativo)
il succo di un lime
un po’ di olio extra vergine di oliva
sale e pepe q.b.
Preparazione.
1. Fate bollire dell’acqua in una pentola. Spegnere il fuoco e immergetevi i gamberetti per 5-7 minuti (fino a quando diventano rosa), quindi scolate e mettete da parte.
2. Mondate tutte le verdure. Tagliate i pomodorini a metà e l’avocado in piccoli pezzi, poi uniteli all’insalata. Tagliate il cipollotto a fettine molto sottili e mischiatelo alle verdure.
3. Dividete l’insalata in 4 parti uguali, quindi aggiungete i gamberetti e condite con un filo d’olio extra vergine d’oliva, il succo di un lime, sale e pepe.
4. Servite l’insalata con dei crackers di farro e avena.
Vedete anche la ricetta dei crackers di farro e avena