We love our pizzas! We love them with all sort of ingredients on top, as long as the ingredients are of the best quality! We have so many different types of pizza in Italy that is easy to get confused! I don’t even know all of them, I just know there are several recipes. Some of the most amazing pizzas are made with seafood and fresh herbs.
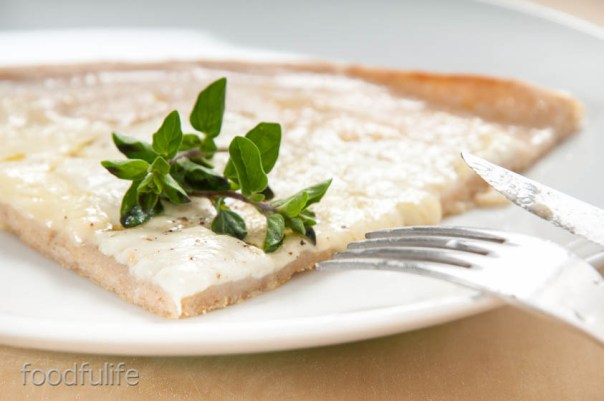
This is one of my recipes, a lovely pizza made with a creamy cannellini bean hummus and topped with mussels, full of flavours and really crunchy! You can call it pizza or you can call it focaccia, either way, it is delicious!!!
Cannellini beans are perfect with mussels, so I have adapted my hummus recipe with slightly different ingredients to suit this recipe best. It is a great summer dish, fresh crunchy and very tasty!
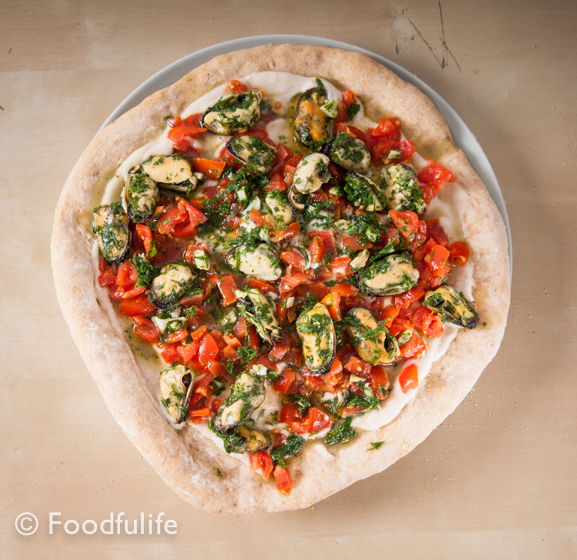
Pizza with cannellini bean hummus and mussels.
Ingredients
For 2 large pizzas (4 people)
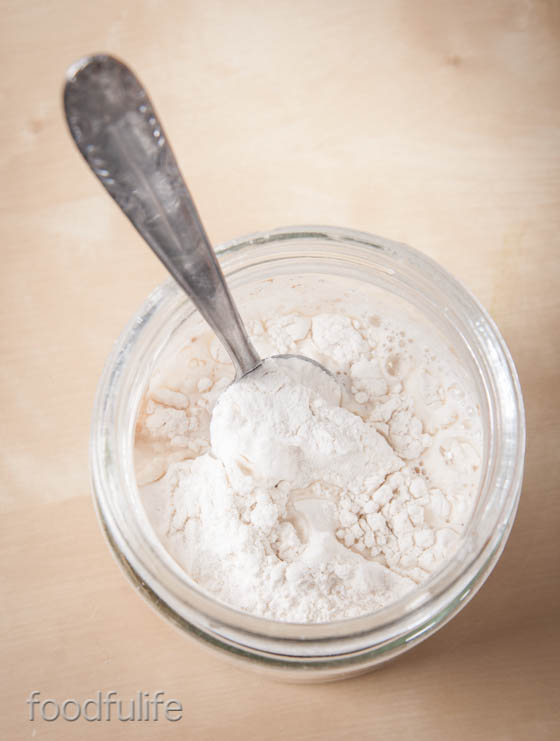
500 g pizza dough (you can follow this recipe)

For the cannellini bean hummus
1 can of cannellini beans
1/2 clove of garlic
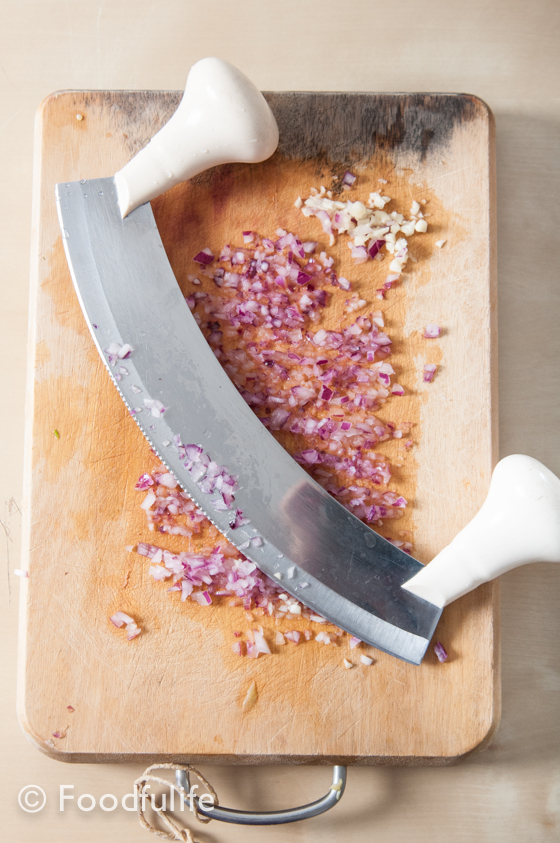
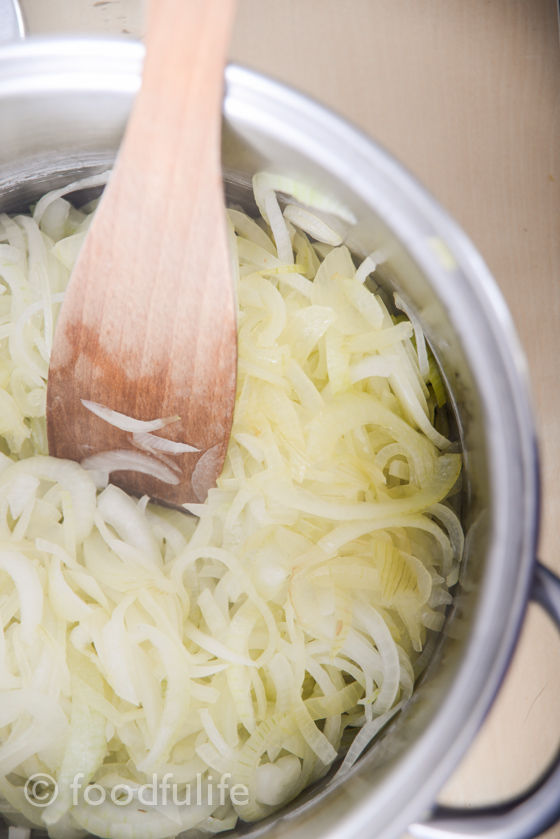
1 small shallot
the juice of 1/2 a lemon
1 teaspoon sesame seeds
a few crystals of sea salt
2 tablespoons of extra virgin olive
2 tablespoons of water (if needed)

For the mussels
2 cloves of garlic, finally chopped
250g (8.8 oz) of mussels ( I used already cleaned and frozen mussels without shell, but you can use fresh ones if you like)
1 tablespoon of chopped parsley
1 tablespoon of chopped tarragon
salt and pepper to taste
3 tablespoons of extra virgin olive oil
To garnish
20 cherry tomatoes, washed, chopped and drained

Method.
For the Hummus.
1. Using a small mortar and a pestle, crush 1 teaspoon of sesame seeds with a few sea salt crystals.

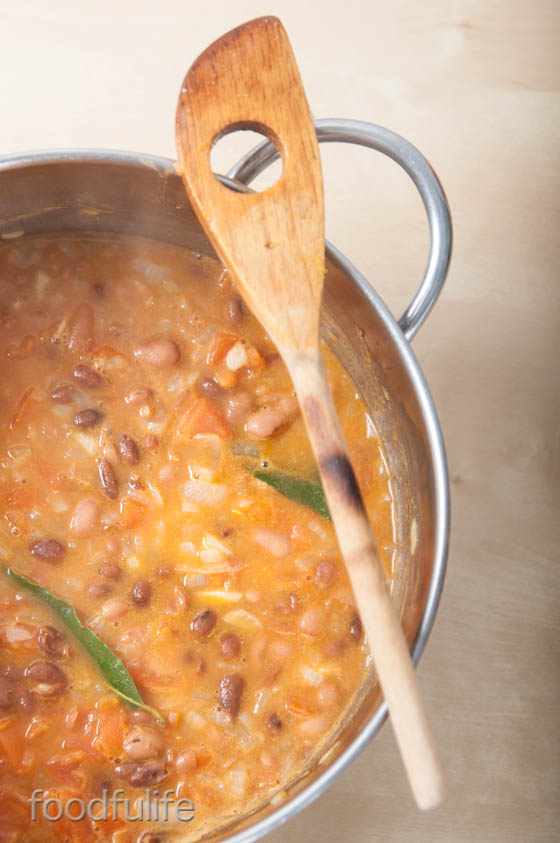
2. Rinse the beans well, then boil them for a few minutes in salted water and drain.
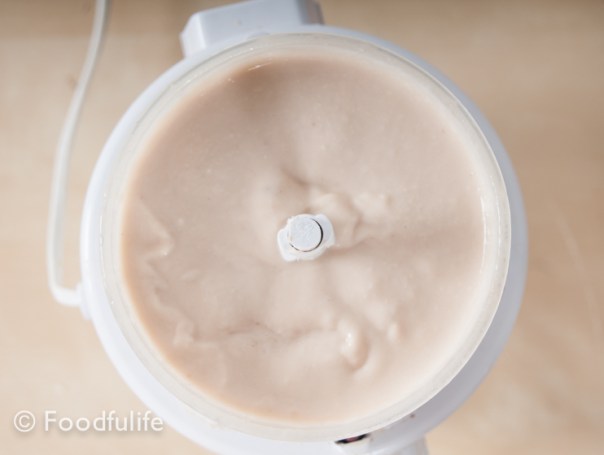
3. In a food processor, finely chop the beans with the crushed sesame seeds, the salt crystals, 1/2 a clove of garlic and a small shallot. After a few minutes, add the juice of half a lemon, 2 tablespoons of water (only if needed) and 2 tablespoons of extra virgin olive oil. Process everything until you have a smooth and creamy mixture.

For the pizza.
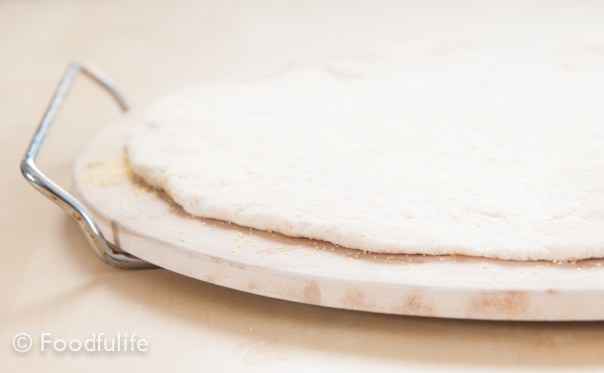
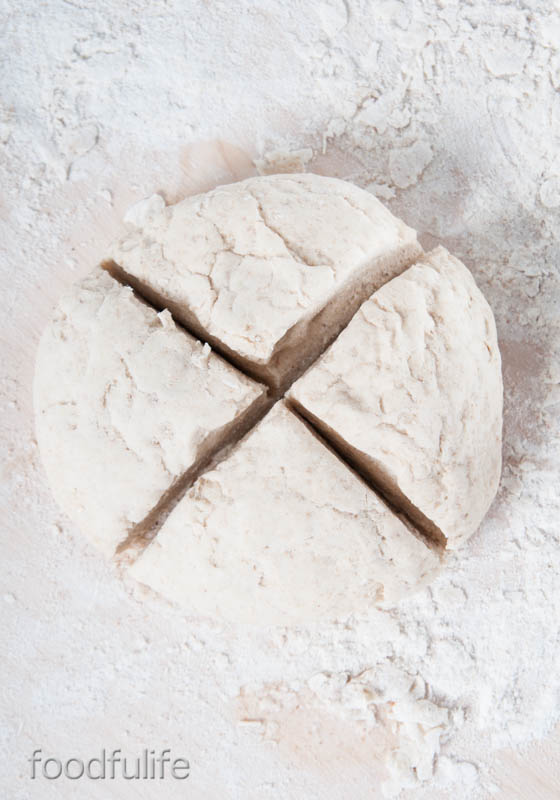
1. Make 500g of pizza dough (follow this recipe).
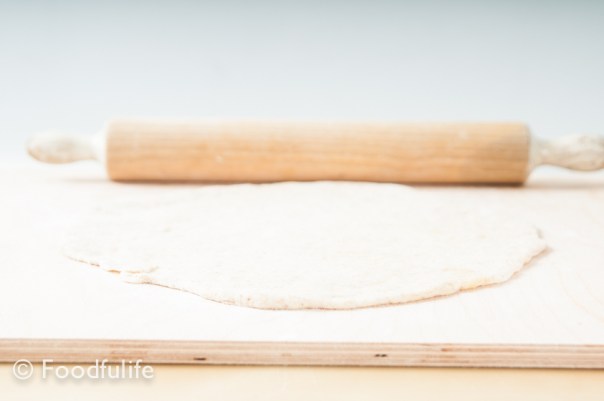
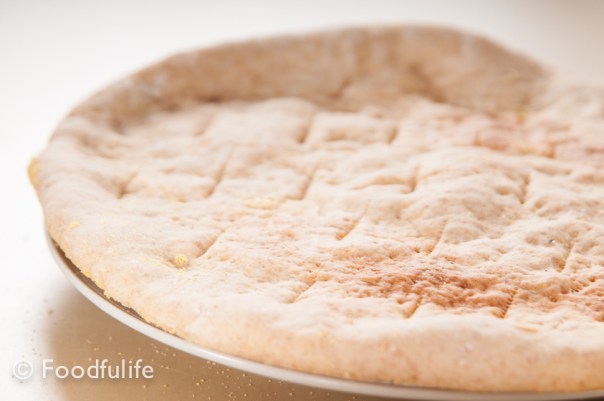
2. Roll out the dough on two baking trays, greased with plenty of extra virgin olive oil and shape 2 large pizzas.

3. Pierce the dough using a knife and bake in a preheated oven at 200 ° C (392° F) for 15-20 minutes.

For the mussels.
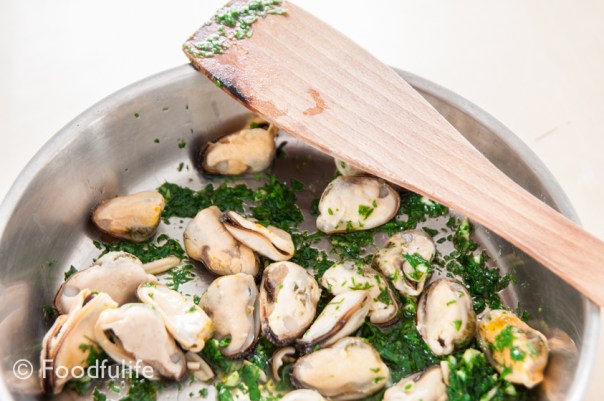
1. In a frying pan, fry two cloves of garlic with the parsley and the tarragon (all finely chopped), over very low heat with 3 tablespoons of extra virgin olive oil.

2. After a few minutes add the mussels and cook over a medium heat for about 10 minutes, then turn off the heat.
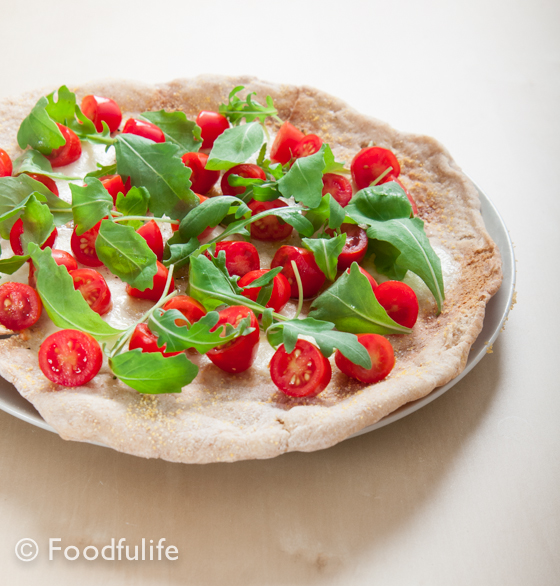
To garnish.
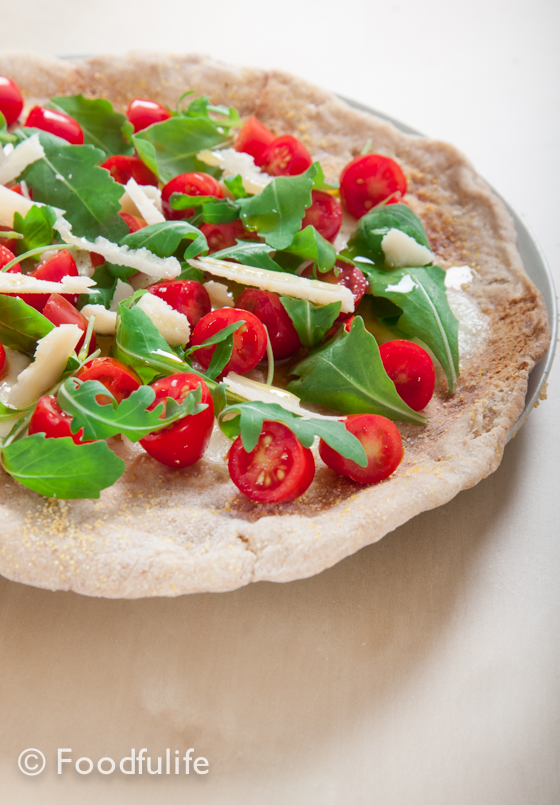
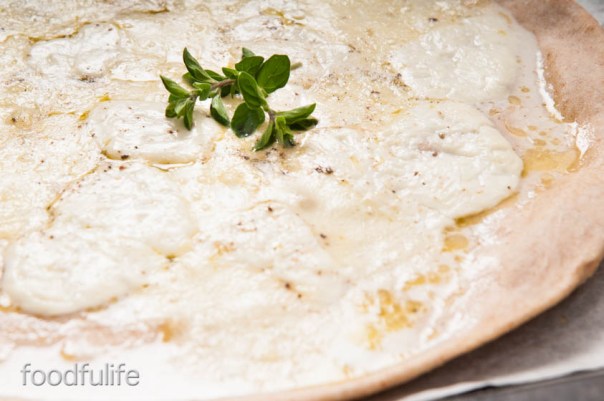
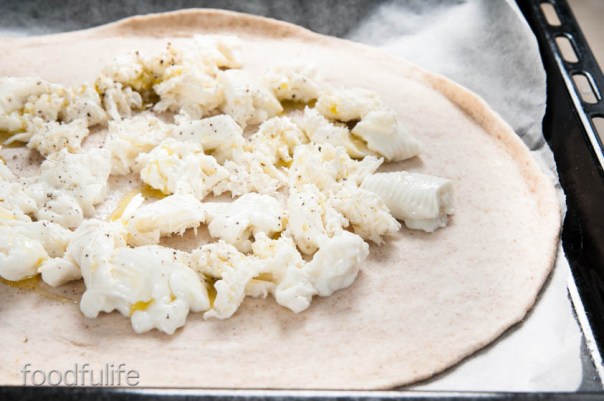
Garnish the pizzas with the cannellini hummus, then top with the tomatoes and the mussels.


Pizza saporita con hummus di cannellini e muscoli.
Ingredienti
Per 2 pizze grosse (4 persone)
500 g di pasta per la pizza
Per l’hummus di cannellini
1 scatola di cannellini
1/2 spicchio d’aglio
1 scalogno piccolo
il succo di 1/2 limone
1 cucchiaio di semi di sesamo
qualche cristallo di sale marino
acqua q. b.
2 cucchiai di olio extra vergine d’oliva
Per i muscoli
2 spicchi d’aglio
250g di muscoli ( ho usato muscoli già puliti, senza guscio e surgelati, ma potete anche usare quelli freschi)
1 cucchiaio di prezzemolo, lavato e tritato
1 cucchiaio di dragoncello, lavato e tritato
sale e pepe q.b.
3 cucchiai d’olio extra vergine d’oliva
Per la guarnizione.
20 pomodorini ciliegina, lavati, tagliati a pezzetti e scolati
Per la preparazione dell”hummus.
1. Con un pestello e un piccolo mortaio, schiacciate i semi di sesamo con qualche cristallo di sale.
2. Sciacquate bene i fagioli e scottateli per qualche minuto (in acqua leggermente salata). Quando saranno pronti, scolate i fagioli.
3. In un tritatutto, tritate finemente i fagioli con i semi di sesamo, il sale, mezzo spicchio d’aglio e lo scalogno. Dopo qualche minuto, aggiungete il succo di mezzo limone, un po’ d’acqua (solo se necessario) e 2 cucchiai d’olio extra vergine d’oliva. Tritate tutto fino ad ottenere una crema uniforme.
Preparazione della base.
1. Preparate 500g di pasta per la pizza seguendo questa ricetta.
2. Stendete la pasta su due teglie unte abbondantemente con olio extra vergine d’oliva e formate due pizze grandi.
3. Fate dei piccoli tagli sulla superficie della pasta e infornate a 200°C per 15-20 minuti.
Per la preparazione dei muscoli.
1. In una padella, fate soffriggere due spicchi d’aglio con il prezzemolo e il dragoncello (a fuoco molto basso).
2. Dopo qualche minuto aggiungete i muscoli e fate cuocere per circa una decina di minuti, poi spegnete il fuoco.
Preparate la pizza.
Con un cucchiaio spalmate l’hummus di cannellini uniformemente sulla base della pizza, poi aggiungete i pomodorini e i muscoli.


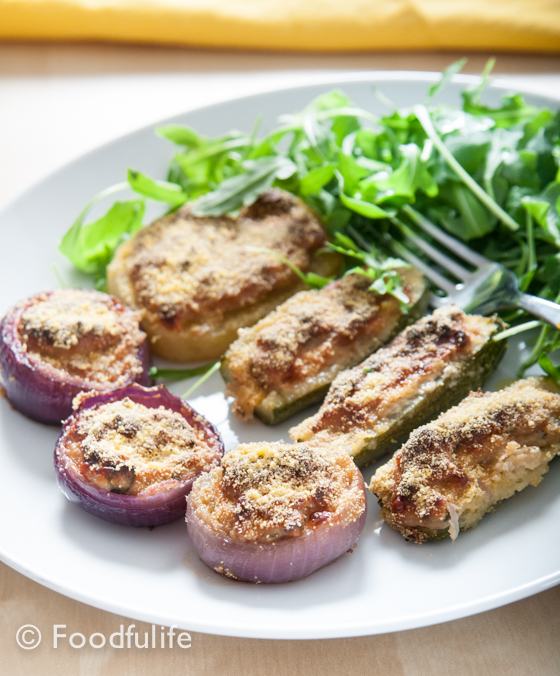
_ Verdure ripiene vegetariane, senza glutine.")