…A wonderful and spicy 2015!!!
Thank you so much for all your support and affection!! XX

…A wonderful and spicy 2015!!!
Thank you so much for all your support and affection!! XX


Ok, I couldn’t help it! I had to make a mosaic with all the recipes from 2014!
A year of blogging, photography, gluten-free, new and traditional recipes…
And many more recipes are on the way! 🙂
Just click on the picture to view the recipe.
New and traditional recipes


")


")


")
")

")

")


Gluten-free recipes

")
")


")

")


")


")

")

How-to recipes

 Perfect Meringues")

")
")

")
")
")
")
")


I’ve just updated my photography portfolio….
Visit the Food Photography page, to view the new gallery.
Thank you!
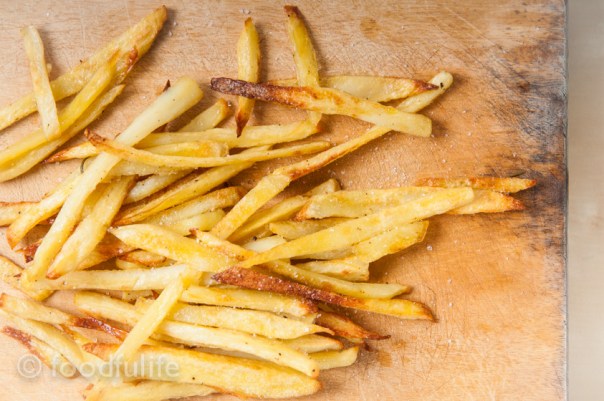
Low-fat and healthier than the real thing, oven-baked skinny “fries” can be even tastier than deep fried potatoes, if you add fresh herbs and garlic.
These skinny “fries” are super tasty and very crunchy!…None will know they are baked and not fried!!

Rosemary and garlic skinny “fries”.
Preparation time: 10 minutes
Cooking time: 30-35 minutes
4 Servings
Ingredients
a bunch of fresh rosemary
8 garlic cloves, peeled and cut in halves
4 medium-large potatoes
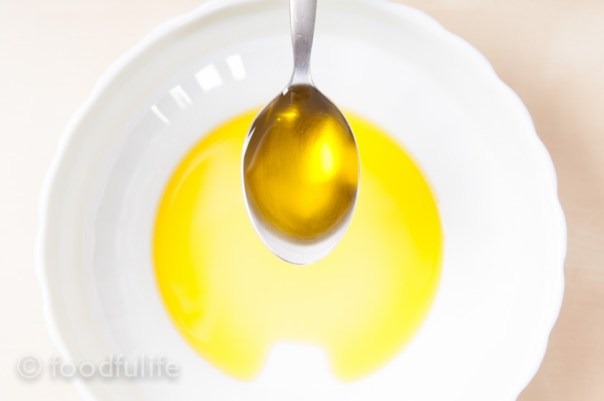
4 tablespoons extra virgin olive oil
salt and pepper to taste
what you need
2 large rectangular baking trays
a big bowl
some baking paper
a knife
a kitchen cutting board

Method.
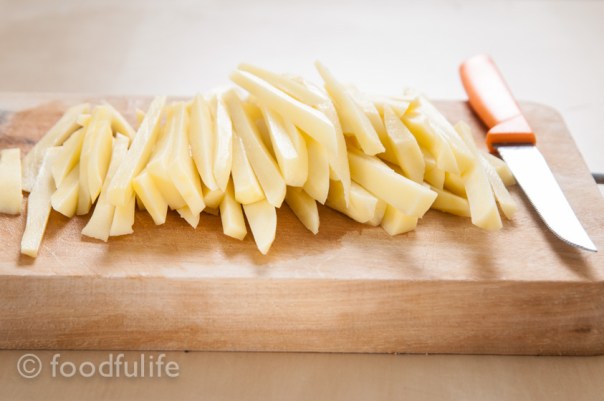
1. Wash, peel and cut the potatoes into sticks.
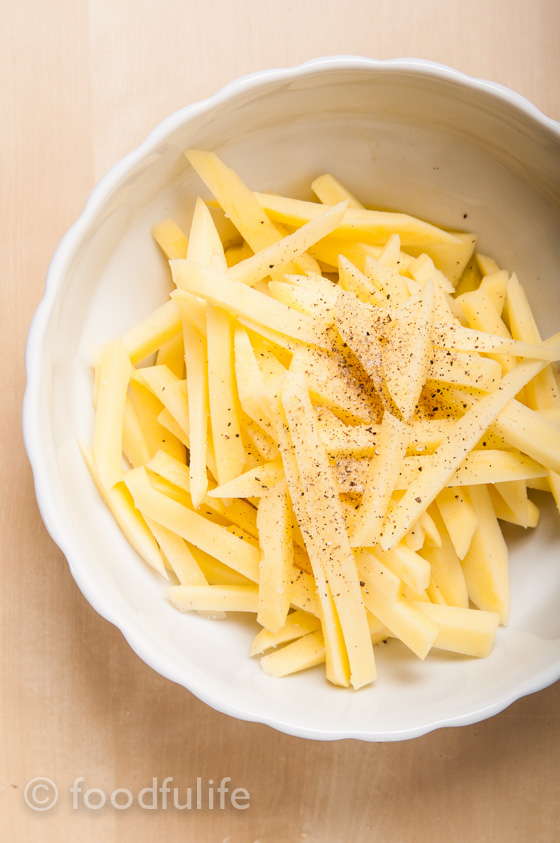
2. Put the potatoes in a large bowl and mix with 4 tablespoons of extra virgin olive oil, salt and pepper.
3. Take 2 large baking trays, line them with baking paper and place the potatoes on the trays (not too many, otherwise they’ll stick together).
4. Top the potatoes with the rosemary and the garlic cloves, then bake for 30-35 minutes at 190°C (374° F).

5. Take the potatoes out of the oven, remove the garlic and rosemary and serve.


Patatine al forno con aglio e rosmarino.
Tempo di preparazione: 10 minuti
Tempo di cottura: 30-35 minuti
Per 4 persone
Ingredienti
un po’ di rosmarino fresco
8 spicchi d’aglio, puliti e tagliati a metà
4 patate medio-grandi
4 cucchiai di olio extra vergine d’oliva
sale e pepe q. b.
occorrono:
2 teglie grandi rettangolari
una ciotola grande
2 fogli di carta da forno
un coltello
un tagliere
Preparazione.
1. Lavate, sbucciate e tagliate le patate a bastoncini sottili.
2. Mettete le patate in una ciotola e mescolate con 4 cucchiai di olio extra vergine d’oliva, sale e pepe.
3. Prendete una teglia grande, ricoprite con carta da forno e posizionateci sopra le patate, lasciando un po’ di spazio tra un pezzo e l’altro (altrimenti si attaccano).
4. Aggiungete il rosmarino e gli spicchi d’aglio sopra le patate, poi infornate a 190 ° C per 30-35 minuti.
5. Levate le patate dal forno, poi togliete l’aglio e il rosmarino. Servite subito.


Plain but full of flavour, Pizza Margherita is one of the most appreciated pizzas in Italy! We use only fresh and the best quality ingredients, in order to get the right combination of flavours. It’s so simple but really delicious!
I often prepare this pizza with a sourdough starter and make a dough using mainly spelt flour, because I love it’s nutty flavour and crunchy texture. Here is my favourite sourdough recipe for the pizza base and the normal yeast version.
Pizza Margherita
Preparation time: 5 minutes + the time to make the dough
Cooking time: 30-40 minutes
Ingredients
For two large pizzas
2 pizza bases (use the dough you prefer)
Two good quality mozzarellas (if you want more flavour you can use buffalo mozzarella)
200 g good quality tomato sauce (sweet and not acidic)
2 tablespoons of chopped marjoram (fresh or dried)
Extra virgin olive oil and salt to taste ( I mix them with the tomato sauce and herbs)
Method.
1. Preheat the oven at the highest temperature and with the fan running (to dry out the excess water from the cheese). Place the pizza stone in the oven (the pizza stone has to heat up gradually, because otherwise it will break).
2. Once the pizza stone is hot, remove it from the oven and dust with some dried (quick cooking) polenta (the polenta will make the pizza crust crunchier).
3. Roll out the pizza dough on the stone, top with the ingredients and place to cook in the oven, with the fan running, for 30-40 minutes (depending on the temperature you are using).
Notes.
1. Use the best quality tomato sauce you can get ; if the tomato sauce is too acidic, you can add some sugar and make it sweeter.
2. Mozzarella is usually preserved in water, so you have to rinse it really well and squeeze it with your hands when you use it.
3. You can use different herbs to personalise your pizza; we often use oregano, basil or marjoram.
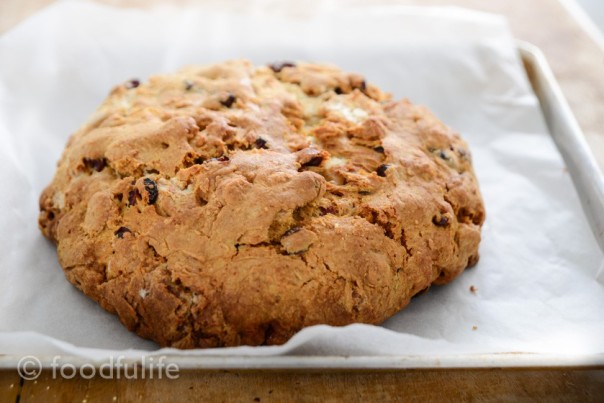
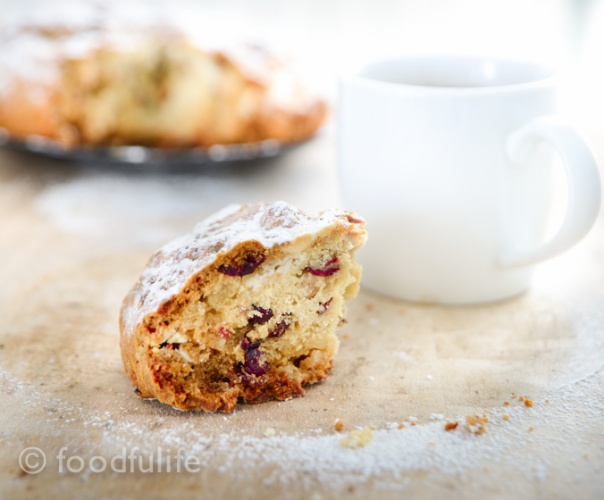
Pandolce is a wonderful Genoese Christmas cake, traditionally made with raisins, candied fruits and pine nuts; so simple but rich in flavours, because we use only the best quality ingredients.
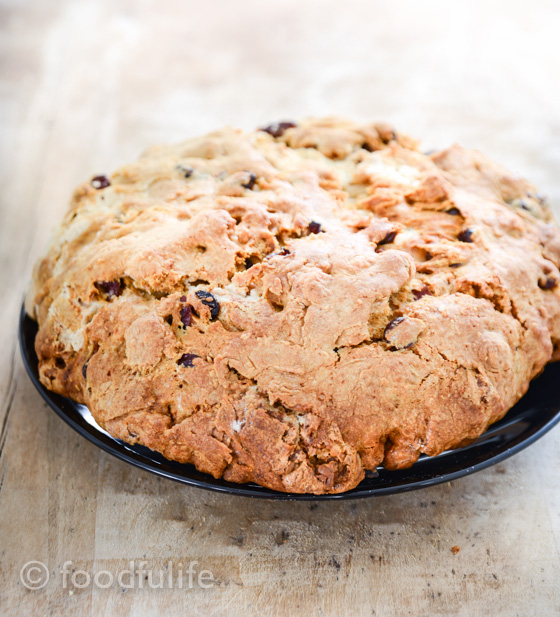
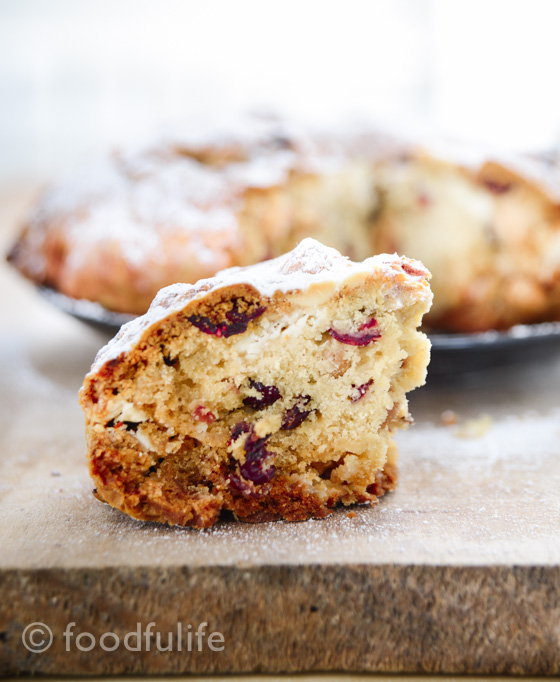
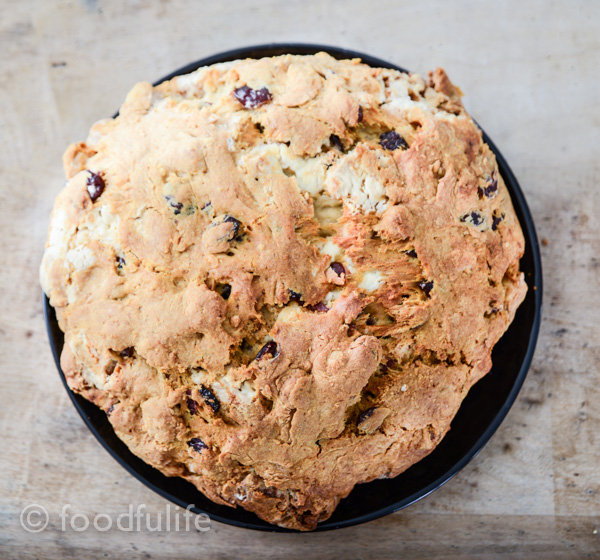
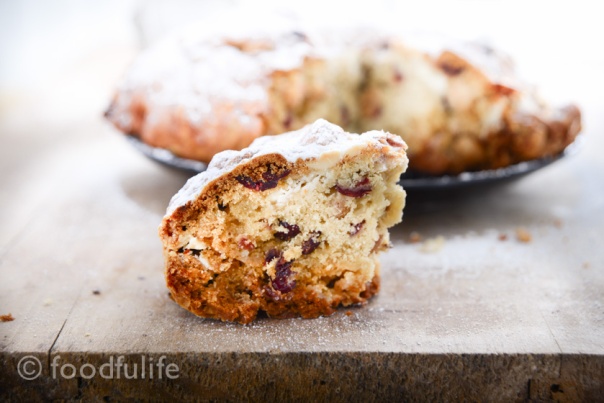
For this Christmas I prepared (as usual) my own version, giving a foodfulife twist to the traditional recipe! I made a Pandolce packed with delicious cranberries, white chocolate and hazelnuts. This dessert is sweet bread (actually more like a cookie dough), perfect if you want to surprise your guests with something truly special for Christmas!
Believe me, it doesn’t get any better than this!
If you prefer something a little less rich but still delicious, you can try my Chocolate and hazelnut Pandolce, made with dark chocolate and with less sugar and a little less butter.

Cranberry and white chocolate Pandolce.
Preparation time: 15 minutes + the resting time
Cooking time: 50 minutes
Ingredients
For 8-10 servings
220 g Manitoba flour (that you can replace with whole spelt flour, or any strong flour)
100 g unbleached all purpose flour
80 g soft butter
60 g milk
1 egg
1 and a half tablespoons of honey
70 g brown sugar
grated zest of 1 organic lemon
2 tablespoons rum
1 teaspoon baking powder
1 teaspoon baking soda
a few drops of vanilla essence
150 g shelled and roasted hazelnuts (whole)
100 g white chocolate, cut into pieces and frozen (that you can replace with dark chocolate)
100 g dried cranberries
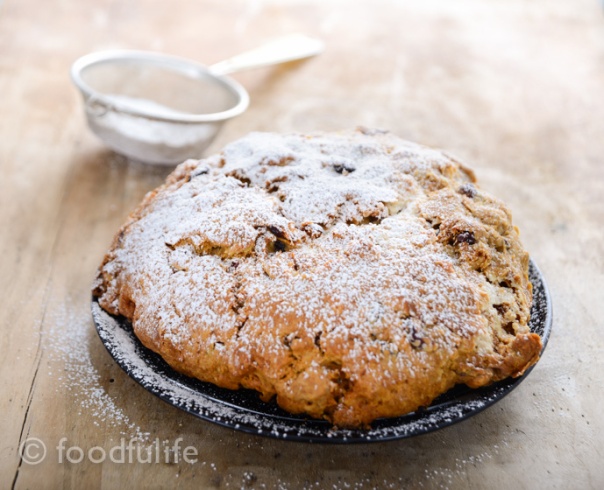
icing sugar to taste
tip. Freeze the white chocolate before making the cake, otherwise it will melt too much during the cooking time.

Method.
1. Mix the softened butter with the brown sugar and the egg, then add the honey and 60 g of milk. Add two tablespoons of rum, two drops of vanilla essence, then stir until the mixture is soft and creamy.
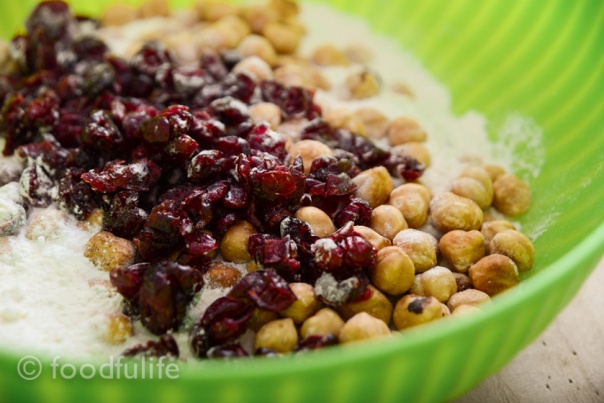
2. Separately, mix the two flours with the baking soda and the baking powder; then add the hazelnuts, the zest of a lemon, the white chocolate and the cranberries. Combine these ingredients with the creamy mixture.
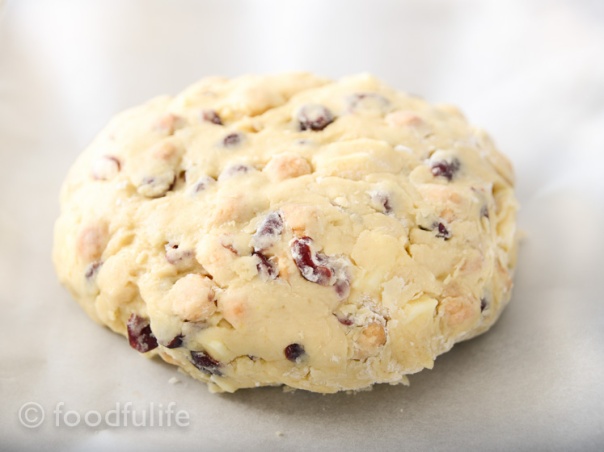
3. Knead well, adding a little bit of flour to prevent the dough from sticking to your hands and place in the refrigerator for 15 minutes.
4. Line the base of an oven tray with baking paper, then place and shape the Pandolce on the tray.
5. Bake in a preheated oven at 170 ° C/388°F (with the fan running) for 50 minutes.
Note. The oven door must remain slightly open during the entire cooking time to release the steam (you can do that by placing a metal object, like a padlock, between the door and the oven, in order to live a 1-2 cm gap).

6. Let the Pandolce cool completely, then dust with plenty of icing sugar.
Pandolce con mirtilli rossi e cioccolato bianco.
Preparazione: 15 minuti + il riposo
Cottura: 50 minuti
Ingredienti
Per 8-10 servings
220 g di manitoba (che potete sostituire con farina integrale di farro)
100 g di farina 00
80 g di burro morbido
60 g di latte
1 uovo
1 cucchiaio e mezzo di miele
70 g di zucchero di canna
la scorza grattugiata di un limone, non trattato
2 cucchiai di rum
1 cucchiaino di lievito per dolci
1 cucchiaino di bicarbonato
qualche goccia di essenza di vaniglia
150 g di nocciole tostate intere, senza buccia
100 g di cioccolato bianco, rotto in pezzi e surgelato (che potete sostituire con il cioccolato fondente)
100 g di mirtilli rossi essiccati (cranberries)
zucchero a velo q. b.
Nota.
Congelate il cioccolato bianco per evitare che si sciolga troppo durante la cottura.
Preparazione.
1. Amalgamate bene il burro con lo zucchero e l’uovo. Aggiungete 60 g di latte, il rum, l’essenza di vaniglia e un cucchiaio e mezzo di miele, poi mescolate fino ad ottenere un impasto cremoso.
2. Separatamente, mischiate le farine e poi aggiungete le nocciole, i mirtilli rossi, il cioccolato bianco (surgelato), la scorza di un limone, il bicarbonato e il lievito. Mescolate tutti gli ingredienti insieme, unendo l’impasto asciutto a quello cremoso.
3. Amalgamate bene, aggiungendo un po’ di farina per evitare che l’impasto si appiccichi alle mani, poi lasciate riposare nel frigorifero per 15 minuti.
4. Ricoprite la teglia con la carta da forno, poi mettete l’impasto sulla teglia e date la forma al Pandolce.
5. Infornate quindi a 170°C per 50 minuti (con la ventola in funzione).
Nota. La porta del forno deve restare socchiusa (con una fessura di 1 o 2 cm), in modo da far uscire il vapore (potete posizionare un oggetto di metallo, ad esempio un lucchetto, tra la porta e il forno).
6. Fate raffreddare completamente, poi decorate il Pandolce con abbondante zucchero a velo.
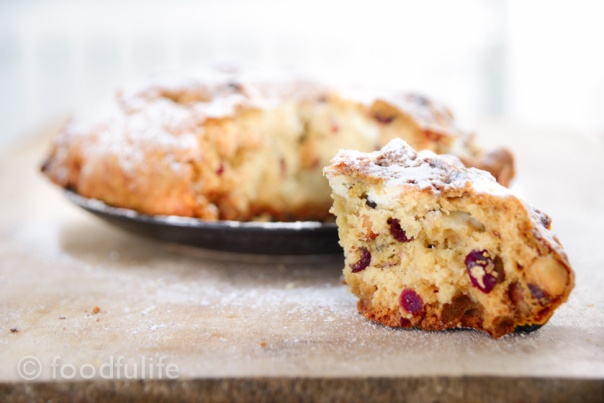

A very special Christmas cake with lots of cranberries!
Here are some ideas for your Christmas Party! I hope you like my choices! 🙂
Click on the links or the pictures for the recipes.
Pandolce al cioccolato con le nocciole ( a wonderful traditional Christmas cake made with lots of hazelnuts and chocolate)

Baci di dama (Absolutely gorgeous! Hazelnuts and chocolate joined together for pure pleasure!)

Bavarian cream with chocolate -caramel sauce (an incredibly soft vanilla dessert, served with a delicious sauce)

Shortbread biscuits with black pepper and fennel seeds (So sweet and spicy, these cookies melt in the mouth and can be very addictive!!! )

Dark chocolate and marrons glacés Tart (Decadent and delicious!)

Torta Paradiso with Crema Pasticciera (This is a gorgeous sponge cake that can be served with any filling you wish… I would serve it with this delicious Italian custard cream)


Torta della Nonna (An amazing cake, made with a shortbread crust and top layer, filled with a thick custard and topped with lots of pine nuts! Truly special!)

French meringues (I know this is a recent post, but I think meringues are a perfect Christmas treat!)

The basics.
A meringue is basically made with two ingredients: sugar and egg whites.
In Italian cuisine we often use three types of meringue: the classic, the French or Italian meringue.
While the classic and French meringues are both baked, the Italian meringue is usually pasteurised (“cooked” at a very low temperature) by adding hot sugar syrup during the preparation process and it is generally used in creamy desserts or cake decorations/ fillings.

Classic or French meringue?
The main difference between French and classic meringues is in the preparation methods. In fact, both these meringues are made with the same ingredients and cooking methods, but they differ in the way in which the sugar is added to the recipe and (slightly) in their final consistency. In the classic meringue the sugar is added at the end of the process, incorporating the sugar with a spatula when the egg whites are firmly whipped; while in the French meringue the sugar is added gradually during the whipping process.
In this article we will see the preparation process for the French meringue, which is quite light and crispy.

…And yes, it’s hard to get it right, but not impossible!
Basic French meringue recipe.
Preparation time: 10 minutes
Cooking time: 3 hours
Ingredients
For 25 meringues (two oven trays)
100 g egg whites
200 g granulated sugar (use icing sugar for a finer grain)

Method.
1. Using an electric beater, beat the egg whites with 1/3 of sugar (about 66 g) starting with a medium-low power.

2. Once the egg whites have doubled in volume, add another 1/3 of sugar and beat at a medium-high power.
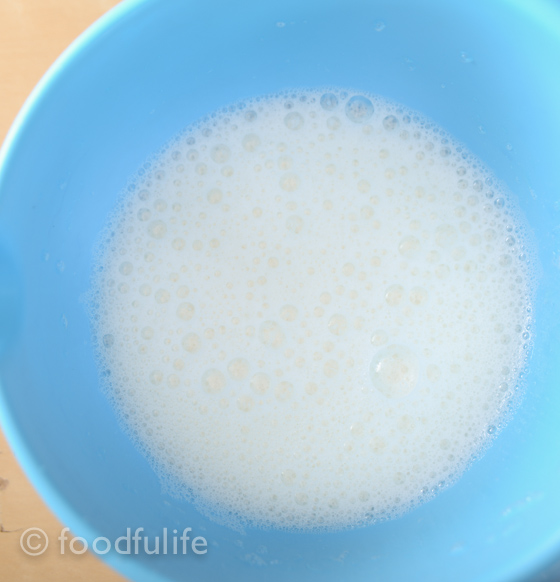
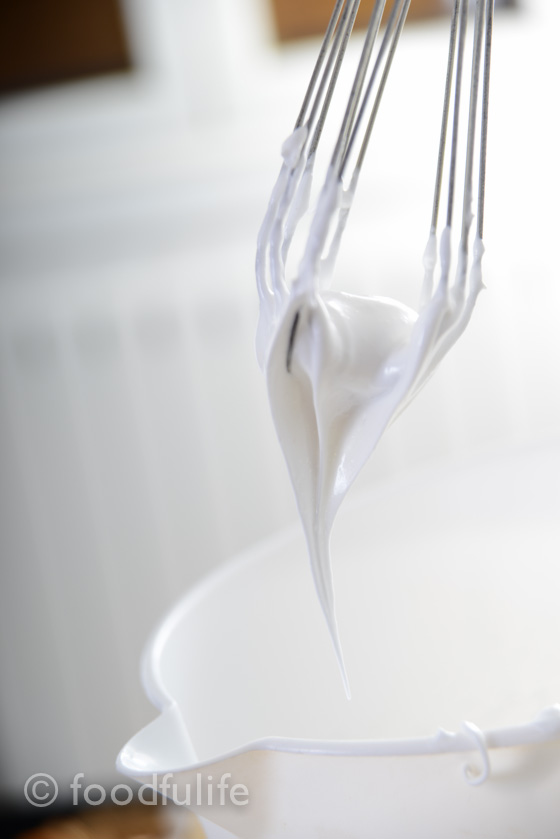
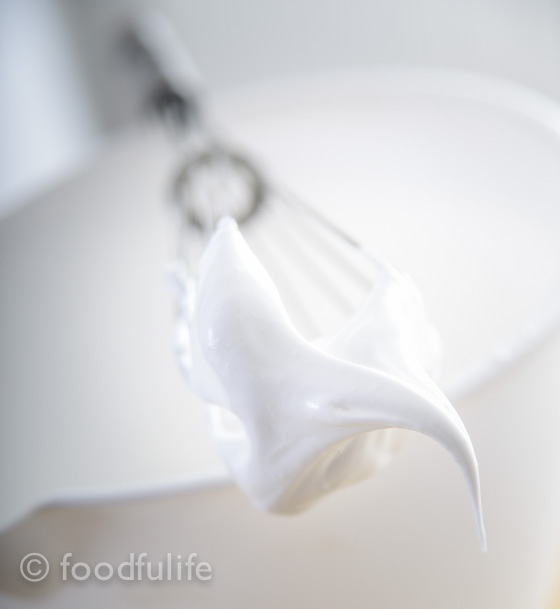
3. When the egg whites are almost stiff, add the rest of the sugar and continue to beat until the mixture is thick and glossy.


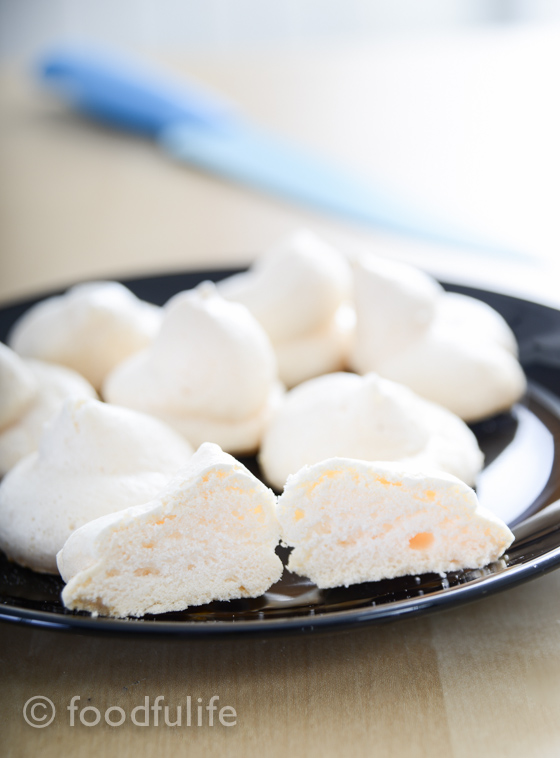
4. Line the base of an oven tray with baking paper, then, using a piping bag, make the meringues (5 cm wide x 3 cm thick).


5. Bake at 85-100° C ( 185- 212°F) for 3 hours (the cooking time depends also on the oven you use). Let cool completely on wire rack and then place in a airtight container.


A few things to keep in mind…
About the ingredients.
1. As a basic rule, the weight of the sugar must be double compared to that of the egg whites.
2. You can add something a little acidic, like lemon juice, to help the whipping process. The doses: use 1/2 a teaspoon of lemon juice for 100 g of egg whites.
3. It is possible to add a little cornstarch in order to better maintain the shape of the meringues during the cooking process.
4. Don’t add any salt because it won’t help the whipping process. Some recipes might suggest the opposite, but it is not correct.
About the preparation method.
1. Separate the egg whites from the yolks well, even small traces of egg yolk will compromise the end result.
2. The equipment used during the whipping process should have been properly cleaned, dried and possibly quite cold. All these elements will help you to achieve the perfect meringue!
About the cooking method.
1. Cook the meringues at a very low temperature to avoid any changes in colour or cracks on the surface (basically the meringues have to dry out slowly in the oven). Best cooking temperature: 85 -100 ° C ( 185- 212°F).
2. If you want to dry the meringues completely, to preserve them for longer, you can leave them in the oven (turned off) for a few hours, after the cooking process.

Ricetta base per la meringa francese.
Tempo di preparazione: 10 minuti
Tempo di cottura: 3 ore
Ingredienti
Per 25 meringhe (per 2 teglie rettangolari)
100 g di albumi
200 g di zucchero semolato (potete usare zucchero a velo per una meringa con grana più fine)
Preparazione.
1. Con uno sbattitore elettrico (utilizzando una potenza medio-bassa), incominciate a montare gli albumi con 1/3 di zucchero (circa 66 g).
2. Quando gli albumi saranno raddoppiati di volume, aggiungete ancora 1/3 di zucchero e aumentate la potenza.
3. Ad albumi quasi montati a neve, aggiungere il resto dello zucchero e continuare a montare fino ad ottenere un composto denso e lucido.
4. Ricoprite la base di una teglia con carta da forno, poi, utilizzando un sac à poche, date la forma alle meringhe (5 cm di larghezza x 3 cm di altezza).
5. Infornare a 85-100 ° C per 3 ore (il tempo di cottura però dipende dal forno utilizzato). Fate raffreddare bene, poi conservate le meringhe in un contenitore a chiusura ermetica.
Note.
Per gli ingredienti.
1. Come regola generale, il peso dello zucchero deve essere il doppio di quello degli albumi.
2. Si può utilizzare del succo di limone per far montare meglio gli albumi. Dosi consigliate: 1/2 cucchiaino di succo di limone per 100 g di albumi.
3. Aggiungendo un po ‘ di amido di mais le meringhe manterranno meglio la forma durante la cottura.
4. Il sale non aiuta a montare meglio gli albumi, se potete non utilizzatelo.
Per la preparazione.
1. Separate bene gli albumi dai i tuorli, perché piccole tracce di tuorlo possono compromettere il risultato finale.
2. L’ attrezzatura deve essere pulita, asciugata e possibilmente fredda.
Per la cottura.
1. Le meringhe devono cuocere a temperatura molto bassa per evitare un cambiamento di colore o la formazione di piccole crepe sulla superficie. La temperatura di cottura più indicata è tra 85-100 ° C.
2. Le meringhe si conservano a lungo quando sono molto asciutte. A cottura terminata, potete lasciare le meringhe nel forno per qualche ora per farle asciugare completamente.

