Tag Archives: leavening

Make the Best Pizza Dough (Part 1)

Making your own pizza dough, for the first time, is probably one of the most satisfying things you can ever experience in your kitchen. There is something magical about the whole process, from the moment you first see the dough rising, up to the moment you actually see your beautiful creation coming out of the oven. I personally enjoy everything about this process and this is why I don’t buy it anymore. Moreover, once you start experimenting with different flours and ingredients, especially if you use natural yeast (but we will see this in part 2), home-made pizza can become a truly special dish to make.

DSC_6063

 A few words on the preparation.

To prepare (approximately) 500 g of dough for pizza or bread you must use 500 g of flour, 15 g of yeast, 10 g salt and some water.

For this recipe I used different kinds of organic flour which have very different qualities from one another and help to create a certain harmony of flavours and textures. The amount of water in the dough and the leavening time may vary, depending on the ingredients used. This type of dough can be used, not only to make pizza but it’s also great to make focaccia and other breads.

Notes. You can decide to add extra virgin olive oil and barley malt (or honey) to the recipe or not, depending on your personal taste. The extra virgin olive oil gives a crunchier crust and the malt (or honey) will help the leavening process, but both these ingredients will add some extra calories to your recipe, so if you are on a diet,  don’t use them.

DSC_5964

I am giving you two options here, choose the dough with the ingredients that you prefer.

Basic pizza dough (with normal yeast)

 Ingredients 

For two large pizzas

to prepare (approximately) 500 g of bread dough or pizza base

 for a wholemeal dough 

250 g plain flour (unbleached all-purpose flour)

100 g whole spelt flour (or farro flour)

100 g Manitoba flour

50 g durum wheat semolina flour

15 g yeast

200-250 ml warm water (but add more if necessary)

10 g salt

extra virgin olive oil to taste

a big pinch of barley malt or honey (optional)

 for a plain flour dough 

If you prefer a dough made mostly with plain flour, then use:

250 g plain flour

250 g manitoba flour (or durum wheat semolina flour)

15 g yeast

200-250 ml warm water (add more if you need to)

10 g salt

extra virgin olive oil to taste

a big pinch of barley malt or honey (optional)

DSC_5972

 Method (for both doughs). 

1. Break up the yeast into small pieces and mix it with a bit ‘of warm water and a few tablespoons of flour. Create a small dough and let it double in volume.

DSC_5991

DSC_5998

DSC_6019

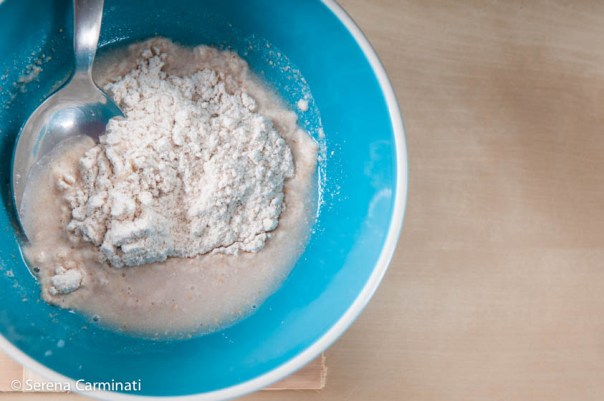
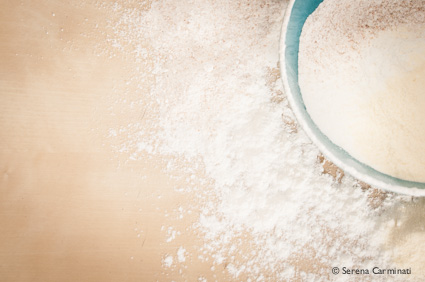
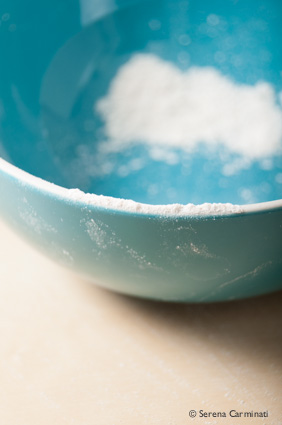
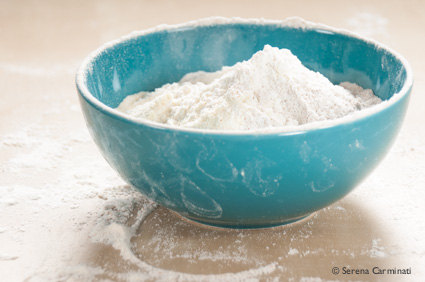
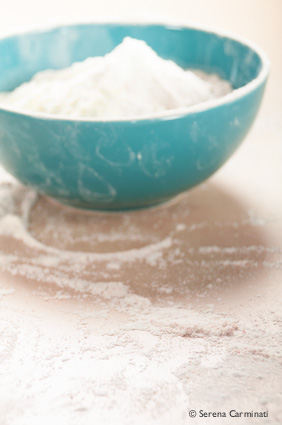
2. Sift the remaining flour with a fine sieve and make a well on a wooden board, then pour 200-250 ml warm water (gradually) and salt in the centre (also add 1 tablespoon of extra virgin olive oil and a pinch of malt, if you wish). Mix the ingredients.

DSC_6022

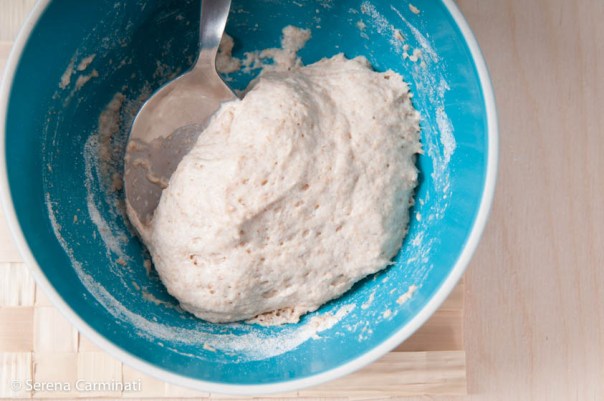
3. Add the yeast dough (from step 1) to the mixture and knead vigorously.

DSC_6027

4. Let it rise in a sheltered place until the dough has doubled volume (it might take between one or two hours).

DSC_6030

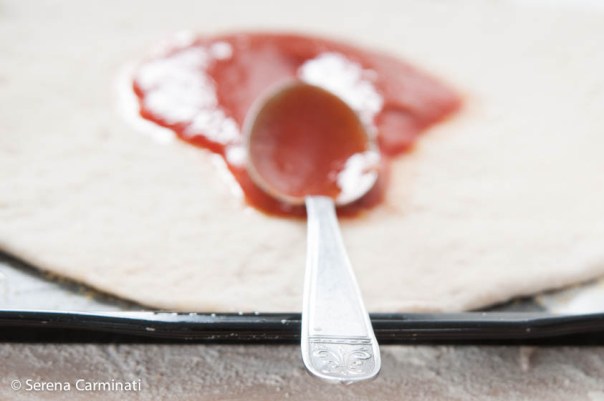
5. Take two large oven trays, cover them with baking paper and brush the paper with plenty of extra virgin olive oil. Roll out the dough with a rolling pin and then add the other ingredients (mozzarella, tomatoes, olives etc.).

DSC_6089

DSC_6090

DSC_6100

6. Let it rise again for 30 minutes, then bake in preheated oven at 190 ° C (374° F) for 20-30 minutes.

DSC_6134-2

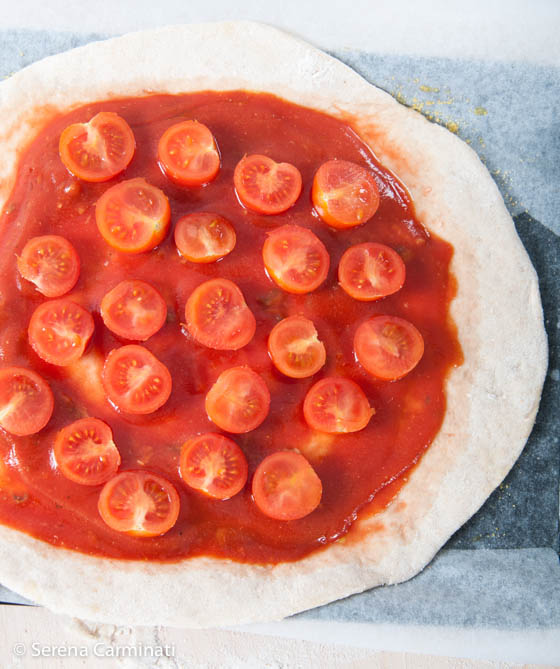
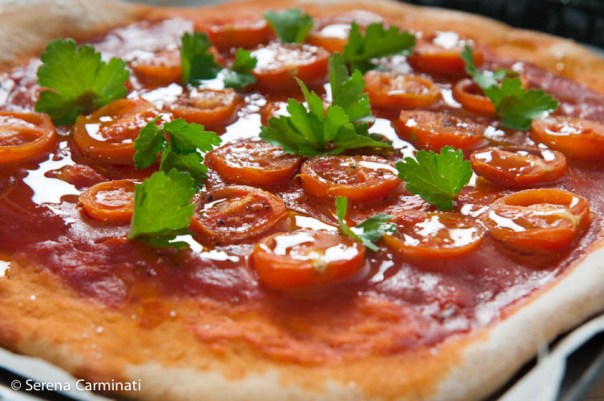
This pizza is called “Marinara” and is made with anchovies, tomatoes and crushed garlic. A very cheap and simple dish, but full of flavour!

DSC_6170

See also Make the best pizza dough part 2 (with sourdough)

Impasto per la pizza (con lievito di birra).

Per preparare 500 g di pasta per la pizza o da pane generalmente si utilizzano 500 g di farina, 15 g di lievito di birra, 10 g di sale e acqua.

In questo caso utilizzerò farine biologiche di vario tipo, che presentano qualità molto diverse tra loro e che aiutano a creare una certa armonia di fragranza e croccantezza. La quantità d’ acqua necessaria da utilizzare potrebbe variare leggermente, a seconda delle farine e degli altri ingredienti utilizzati, così come il tempo di lievitazione. Questo tipo di impasto può esse utilizzato anche per preparare focacce e pane.

Nota. Ho aggiunto l’ olio extravergine d’oliva e il malto d’orzo nella lista degli ingredienti, perché servono a creare una crosta più croccante e a far lievitare meglio l’impasto (nel caso del malto).

Vi darò due ricette, così potete scegliere l’impasto con gli ingredienti che preferite.

Impasto base per la pizza (con lievito di birra)

Ingredienti 

Per due pizze grandi

per preparare 500 g di pasta da pane o per pizza

Impasto con farina integrale

250 g farina 00

100 g farina di farro integrale

100 g Manitoba

50 g semola di grano duro rimacinata

15 g di lievito di birra

200-250 ml di acqua tiepida

10 g di sale

olio extra vergine d’oliva q. b.

una punta di cucchiaio di malto d’orzo (facoltativo)

Impasto con farina 00

Se preferite un’impasto semplice con farina bianca allora utilizzate i seguenti ingredienti:

250 g di farina 00

250 g di farina Manitoba

15 g di lievito di birra

200-250 ml di acqua tiepida

10 g di sale

olio extra vergine d’oliva q. b.

una punta di cucchiaio di malto d’orzo (facoltativo)

 Metodo (per entrambi gli impasti). 

1. Spezzate il lievito in piccoli pezzi e mischiatelo con un po’ d’ acqua tiepida e qualche cucchiaio di farina, fino a creare un panetto. Lasciate raddoppiare il panetto di volume.

2. Setacciate il resto della farina e disponetela a fontana su una spianatoia con 200-250 ml d’ acqua tiepida e il sale (aggiungete anche l’olio e il malto, se volgete utilizzarli). Mescolate leggermente.

3. Aggiungete il panetto di lievito e impastate tutto energicamente.

4. Lasciate lievitare in un luogo riparato, finché il volume dell’impasto sarà raddoppiato (una o due ore).

5. Utilizzate due teglie grandi, ricopritele con della carta da forno e spennellate con abbondante olio extra vergine d’oliva. Stendete l’impasto con un matterello, aggiungete gli   altri ingredienti (mozzarella, pomodori, origano ecc.) e infornate a forno preriscaldato a 190° C per 20-30 minuti.

Some tips to keep your sourdough in good shape!

My sourdough is one year old! I keep it strong and healthy in a nice big jar in the fridge. I usually feed it once a week (or refresh it, as we say) , but the refreshment time varies depending on my needs. I’ve never had any problems with my natural yeast, however, at times, it’s possible that the yeast becomes sourer, or less responsive to leavening, therefore less active. These elements depend on many factors. There are some steps you can take to keep your sourdough in the best shape and correct any of problems. Of course, if you want a sour product, in order to let the bacteria produce acidity you have to do the opposite of what is indicated below.

To increase the leavening strength:

⁃ increase the temperature during leavening

⁃ decrease the ratio refreshments / flour

⁃ increase the ratio water / flour

⁃ increase humidity

In case of over-acidity:

⁃ change the type of flour (change microflora)

⁃ decrease the rising time

⁃ decrease ratio refreshments / flour

⁃ decrease the amount of water with the flour (to make a harder dough)

⁃ lower the temperature of the dough

DSC_7787

Some of this information belongs to the teaching material of the Cereal Technology Course at Parma University (Italy), courtesy of Prof. Franco Antoniazzi.

Come mantenere il lievito madre al meglio.

Il mio lievito madre ha un anno di vita! Lo tengo in un vasetto di vetro nel frigorifero e lo rinfresco generalmente una volta a settimana, ma a volte anche più spesso se ne uso in grandi quantità. Non ho mai avuto grossi problemi, ma è possibile che il lievito naturale a volte diventi più acido, oppure sia meno reattivo alla lievitazione, questo dipende da molti fattori. Ci sono comunque degli accorgimenti che si possono adottare per mantenere il lievito madre al meglio e correggere eventuali anomalie.

Interventi sui rinfreschi del lievito naturale.

Per aumentare la forza lievitante:

  • aumentare la temperatura di lievitazione
  • diminuire il rapporto rinfreschi/farina
  • aumentare il rapporto acqua/farina
  • aumentare l’umidità

Interventi in caso di acidità eccessiva:

  • cambiare tipo di farina (microflora diversa)
  • diminuire i tempi di lievitazione
  • diminuire i rapporti rinfreschi/farina
  • diminuire la quantità di acqua rispetto alla farina (impasto più duro)
  • abbassare le temperature degli impasti

Alcune delle informazioni riportate in questo articolo, fanno parte del materiale didattico del corso di Tecnologia dei Cereali dell’Univeristà di Parma, per gentile concessione del Prof. Franco Antoniazzi.

Bread making: choosing the right flour.

DSC_6642
  1. A good dough depends on the quality of the flour used. A good stone ground flour preserves most of the original nutritional values of the cereals.
  2. A few important factors determine the quality of a particular flour: tolerance to fermentation, good ability to absorb water, good consistency, extensibility and resistance.
  3. There are weak (soft) and strong (hard) flours. It’s important to understand the difference between these types of flour in order to use them in the best possible way.
  4. The strength of a flour is determined by the amount of protein (gluten) contained in the product. The higher the amount of protein (gluten), the stronger the flour.
  5. Weak flours have low protein (gluten) content and poor water absorption ability, consequently they are less active when leavening. For these reasons weak flours are mainly used for simple and dry preparations (e.g.to make cookies or bread sticks), while strong flours (e.g. manitoba) are used in more elaborate leavening processes.
  6. A plain strong flour dough is harder to work, therefore less extensible than a weaker one.

DSC_6554

Understanding flour strength.

In Italy, flour strength is indicated by a number followed by W. The W number is usually not indicated on the packaging of the product you buy at the supermarket. it’s possible to understand the strength of a flour by looking at the protein content indicated on the packaging.

DSC_6597

Below you will find some reference data that might help you to understand the relationship between protein, flour strengths (W) and their uses.


  • W
  • Protein
  • Use
  • 90/130
  • 9/10,5
  • Cookies (dough with baking powder)
  • 130/200
  • 10/11
  • Breadsticks, Crackers
  • 170/200
  • 10,5/11,5
  • Ciabatta, sandwich, focaccia bread, pizza, plain bread dough (with yeast or baking powder)
  • 220/240
  • 12/12,5
  • Baguettes, ciabatta bread, bread dough ( with yeast or baking powder) and biga (or sourdough) 5/6 h rising time
  • 300/310
  • 13
  • Worked bread, pastry dough with biga (or sourdough) up to 15 h rising time
  • 340/400
  • 13,5/15
  • Puffed bread, Pandoro, Panettone, dough leavened with long fermentation, pastry dough with biga (or sourdough) over 15 h rising time

The data shown here was taken from the teaching material of the Cereal Technology Course at Parma University (Italy), courtesy of Prof. Franco Antoniazzi.

DSC_6644

Guida alle farine.

  1. Un buon impasto dipende dalla qualità della farina utilizzata. Una buona farina ottenuta dalla macinazione in pietra (il metodo tradizionale) preserva al meglio le proprietà e i valori nutrizionali dei cereali macinati.
  2. Le caratteristiche da ricercare in una buona farina per fare il pane sono: tollerabilità alla fermentazione, buon assorbimento dell’acqua, buona consistenza, estensibilità dell’impasto e resistenza alla lavorazione.
  3. Esistono farine deboli e forti. E’ importante capire la differenza tra queste farine per utilizzarne al meglio le caratteristiche.
  4. Il fattore di panificabilità, o forza di panificazione, dipende dal contenuto di proteine (glutine) nella farina. Più alta è la percentuale di proteine contenuta nella farina e maggiore è la forza di panificazione.
  5. Le farine deboli hanno un basso contenuto di glutine, scarsa capacità di assorbimento dell’acqua e di conseguenza reagiscono meno attivamente alla lievitazione. Le farine deboli vengono quindi utilizzate nelle lavorazioni più fini e secche (per fare i biscotti o grissini), mante le farine forti (ad esempio la manitoba) si utilizzano per le lievitazioni più lunghe ed elaborate.
  6. Un impasto semplice, fatto con la farina forte, è più tenace e meno estensibile di un impasto fatto con la farina debole.

DSC_6595
Capire la forza delle farine.

In Italia, la forza della farina si indica con un numero seguito da W. Nella confezione al supermercato non troverete questi parametri riportati sulla confezione. E’ possibile però farsi un’idea sulla forza di panificazione della farina leggendo le percentuali di proteine riportate sulla confezione del prodotto.

In questa tabella troverete alcuni dati di riferimento per capire meglio il rapporto tra le proteine,la  forza di panificazione (W) delle farine e i loro utilizzi.

  • W
  • Proteine
  • Utilizzo
  • 90/130
  • 9/10,5
  • Biscotti ad impasto diretto (con lievito chimico)
  • 130/200
  • 10/11
  • Grissini, Crackers
  • 170/200
  • 10,5/11,5
  • Pane comune, impasto diretto (cioè con lievito chimico o lievito di birra), ciabatte, pancarré, pizze, focacce, fette biscottate
  • 220/240
  • 12/12,5
  • Baguettes, pane comune a impasto diretto (cioè con lievito chimico o lievito di birra), maggiolini, ciabatte a impasto diretto e biga di 5/6 h
  • 300/310
  • 13
  • Pane lavorato, pasticceria lievitata con biga di 15 h e impasto diretto
  • 340/400
  • 13,5/15
  • Pane soffiato, pandoro, panettone, lievitati a lunga fermentazione, pasticceria lievitata con biga oltre le 15 h

I dati riportati nella tabella sono stati presi dal materiale didattico del corso di Tecnologia dei Cereali dell’Univeristà di Parma, per gentile concessione del Prof. Franco Antoniazzi.

DSC_6608