Focaccia bread with rosemary and whole sesame seeds.
Ingredients
300 g (10.5 oz) wholemeal flour ( organic is better)
200 g (7 oz) plain flour, (organic is better)
167 g (5.8 oz) sourdough (or 16 g yeast)
10 g salt (for the dough) and some more to add over the focaccia bread
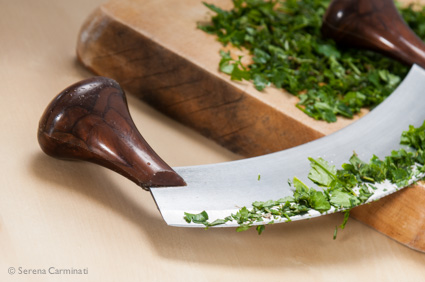
A few sprigs of fresh rosemary
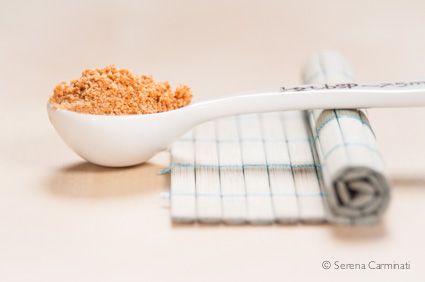
10 g sesame seeds (1 tablespoon)
half a teaspoon honey olive oil and water as needed
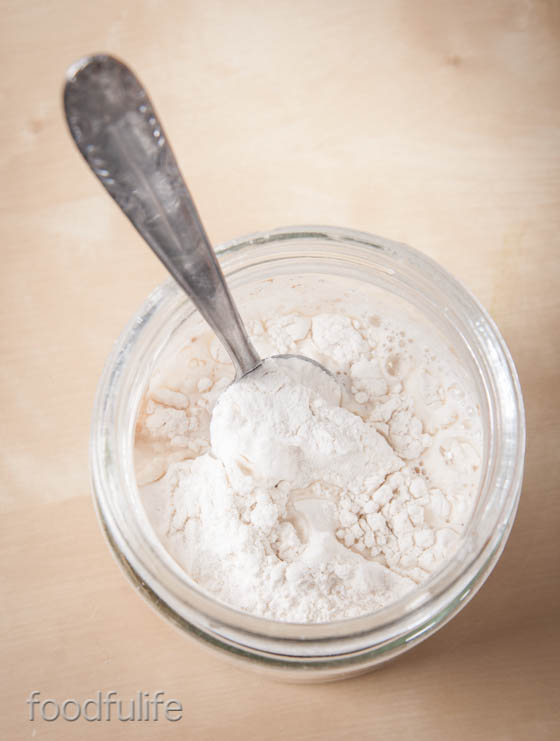
Bread dough.
To prepare a good homemade bread you need to choose the ingredients carefully.
There are many different flours to choose from, and not all necessarily reflect what labels say. Most wholemeal flour you find in shops, for example, is often nothing more than plain flour with added bran, therefore it’s always best to get informed and buy good quality products, possibly organic, to have good cooking results.
Making a good bread dough is essential, it is very versatile and it can be used in many recipes to add fragrance and flavour to your dishes. I often use good quality wholemeal flour in my dough, as it is rich in fiber, vitamins and minerals and contains fewer calories than plain flour dough.
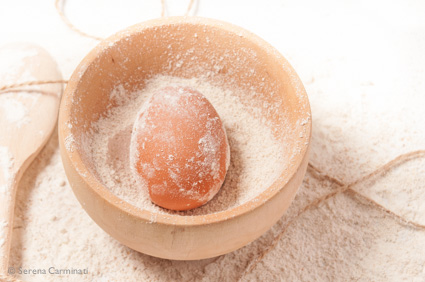
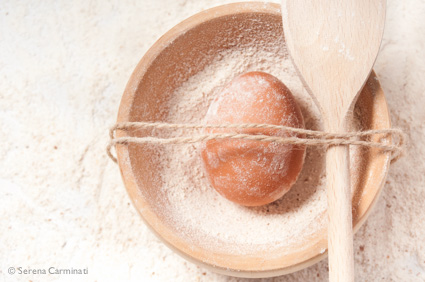
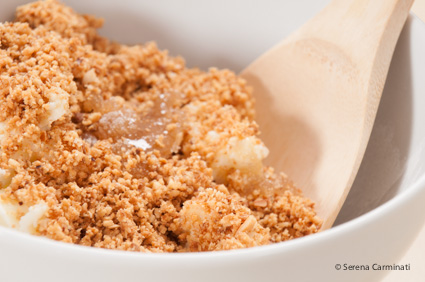
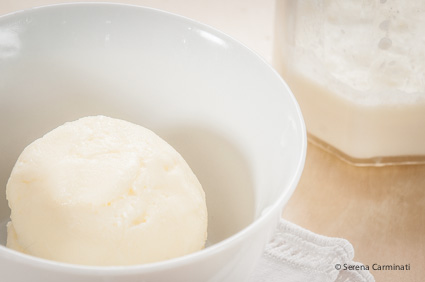
Starter dough.
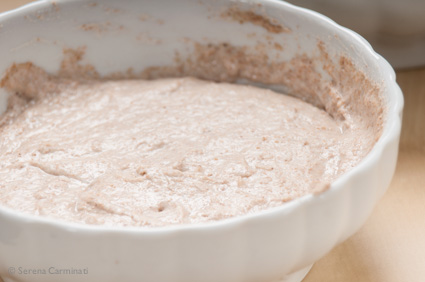
The best way to strengthen and optimize the leavening and fermentation activity in bread dough is to create a starter dough ( or bread starter). We begin by adding the sourdough (167 g) to some flour (1/4 of the dose indicated in the recipe, 125 g, 4.4 oz), just a little bit of honey, and enough water to create a moist and soft dough. Cover and set the dough in a warm place to rise, until it has doubled in volume.This process will make your bread dough rise perfectly, after adding all the ingredients.
It’s also possible to make a starter dough using yeast, but time and dosage differ slightly. Use 16 g of yeast ( following the doses indicated in the recipe above) plus 2 tablespoons flour, very little honey, then cover and let it rise for 1 hour.
How to make sourdough from the start : https://foodfulife.wordpress.com/2013/01/02/how-to-make-na…east-sourdough/
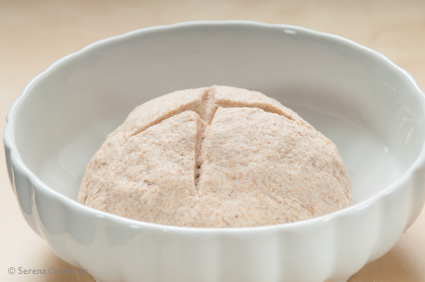
Making the dough.
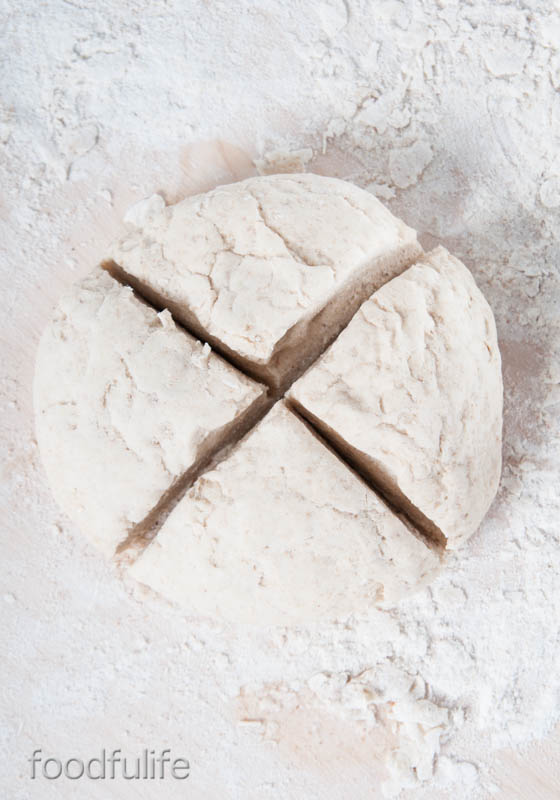
Mix the two flours in a large bowl. Pour the flour on a working surface (or use a large bowl) and make a well in the centre. Add salt and water to the flour mixture. Mix everything and add the starter dough.

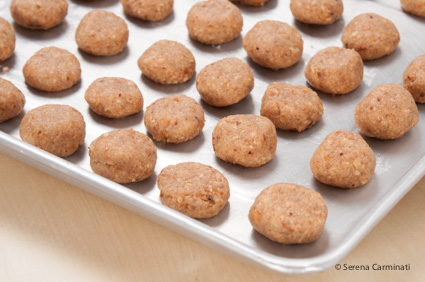
Form a soft dough, adding water or extra flour if needed. The dough should be smooth and elastic. Shape into a round ball and slash the surface in a cross pattern.

Place the dough to rise in a warm place (rising time may vary depending on the ingredients you use). If you use natural yeast, your dough might take 3-6 hours to rise, or maybe less if you made a starter dough , my advice, however, is to always wait for the dough to double in volume.

Once risen, you can shape your dough into the desired form, and use it in many recipes.
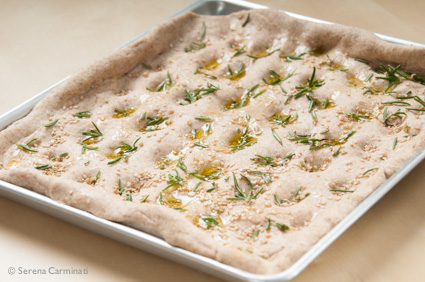
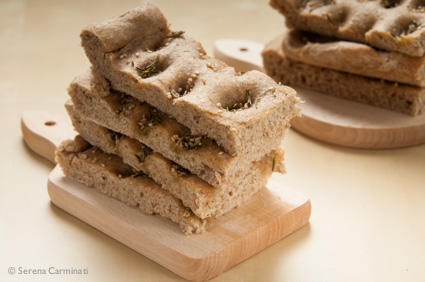
Focaccia bread with rosemary and whole sesame seeds.

With the help of a rolling pin, roll out the bread dough until you have a thick layer and place it on a lightly greased rectangular baking tray (mine is a 28cm x 24 cm ).Stretch the dough layer to cover completely the baking tray. With your fingers, press lightly on the surface of the dough to create little wells, taking care not to break it.

Place in a warm place and let rise for 20 minutes. Brush your bread with olive oil and water,then sprinkle evenly with fresh rosemary leaves, sesame seeds and salt.

Bake at 180° C (356 °F) for 20 to 30 minutes. Cut and serve.

Focaccia integrale con rosmarino e semi di sesamo.
Ingredienti
300 g di farina integrale
200 g di farina 00 biologica
167 g di lievito madre (oppure 16 g di lievito di birra)
10 g di sale (per l’impasto) e un po’ in più da aggiungere sopra la focaccia
Qualche rametto di rosmarino fresco
10 g di semi di sesamo (un cucchiaio)
mezzo cucchiaino di miele
olio d’oliva e acqua q b
Pasta da pane: impasto base.
Per preparare un ottimo pane fatto in casa è necessario scegliere gli ingredienti con cura. Esistono svariate farine e non tutte rispecchiano necessariamente ciò che indicano le etichette. La farina integrale che trovate in commercio, per esempio, spesso non è altro che farina bianca con dell’aggiunta di crusca, quindi e’ sempre meglio informarsi e comprare prodotti possibilmente biologici e di buona qualità, per avere buoni risultati in cucina.
Un buon impasto per il pane è importante perché può essere utilizzato in molte ricette, arricchendo i piatti con gusto e fragranza. L’impasto integrale, in particolare, è ricco di fibra, un po’ meno calorico e contiene più vitamine e minerali di quello fatto con la farina bianca.
Qualche link utile sulla farina integrale:
http://www.corriere.it/salute/nutrizione/10_febbraio_28/pane-integrale-vantaggi_ed0992cc-2422-11df-826d-00144f02aabe.shtml
http://blog.greenme.it/naturomania/alimentazione-naturale-attenti-alla-farina-integrale/
Il lievitino, o panetto di lievito.
Il modo migliore per rinforzare e ottimizzare la lievitazione e la fermentazione nell’impasto, è quello di creare un lievitino, o panetto di lievito. Si procede aggiungendo al lievito madre (in questo caso 167 g) una parte della farina (1/4 della dose indicata nella ricetta) ,pochissimo miele (o zucchero, che useremo per nutrire il lievito), e acqua necessaria per creare un panetto umido e morbido. Coprite e mettete il panetto in un posto caldo finché non sarà raddoppiato di volume. Questa operazione farà lievitare perfettamente il vostro impasto, una volta aggiunti tutti gli ingredienti.
Naturalmente il lievitino si fa anche con il lievito di birra, ma le dosi e i tempi variano leggermente. A 16 g di lievito di birra, sbriciolato e sciolto in un po’ d’acqua (seguendo sempre le dosi indicate sopra), si aggiungono 2 cucchiai di farina, poco miele e si lascia riposare per 1 oretta circa al caldo. A questo link troverete tutto il procedimento per fare il lievito madre: https://foodfulife.wordpress.com/2013/01/02/how-to-make-na…east-sourdough/
Impasto e procedura.
Unite le farine e disponetele a fontana su un piano da lavoro (o in una ciotola grande), aggiungete il sale e l’acqua tiepida necessaria ad amalgamare il tutto, senza bagnarlo troppo. A questo punto aggiungete il panetto di lievito e lavorate energicamente fino a creare un impasto liscio e omogeneo. Formate una palla e incidete una croce sulla superficie. L’impasto ora è pronto per essere coperto e messo in un luogo caldo a lievitare. I tempi di lievitazione variano a seconda degli ingredienti usati. La lievitazione con il lievito madre può variare dalle 3 alle 6 ore, magari meno se usate il lievitino, il mio consiglio, comunque, è di aspettare sempre che l’impasto sia raddoppiato di volume prima di utilizzarlo. Una volta lievitato, potete dare al vostro impasto le forme desiderate o sbizzarrirvi con le vostre ricette.
Preparazione della focaccia integrale con rosmarino e semi di sesamo.
Aiutandovi con il matterello, stendete la pasta da pane fino ad ottenere una sfoglia spessa più o meno un dito e ponetela in una teglia rettangolare leggermente unta (io ne uso una delle dimensioni di 28cm x 24 cm). Stendetela ulteriormente, in modo da ricoprire perfettamente la superficie della teglia. Con le dita premete leggermente sull’impasto per creare delle rientranze, facendo attenzione però a non romperlo. Lasciate lievitare per 20 minuti. A questo punto, spargete uniformemente le foglie di rosmarino fresco con i semi di sesamo e il sale sulla focaccia. Spennellate con un po’ di olio d’oliva e un po’ d’acqua, e infornate a 180° per 20- 30 minuti. Tagliate e servite.